126(145)kV Vacuum Circuit Breaker Installation & Adjustment Guide

High-voltage vacuum circuit breakers, owing to their excellent arc-quenching characteristics, suitability for frequent operation, and long maintenance-free intervals, have been widely applied in China’s power industry—particularly in urban and rural power grid upgrades, as well as in chemical, metallurgical, railway electrification, and mining sectors—and have received widespread acclaim from users.
The primary advantage of vacuum circuit breakers lies in the vacuum interrupter. However, the characteristic of a long maintenance interval does not mean "no maintenance" or "maintenance-free." For the circuit breaker as a whole, the vacuum interrupter is only one component; other parts such as the operating mechanism, transmission mechanism, and insulating components remain essential to ensuring the breaker’s overall technical performance. Proper routine maintenance of all these components is necessary to achieve satisfactory operational results.
I. Installation Requirements for Vacuum Circuit Breakers
Unless the manufacturer explicitly guarantees otherwise, it is essential to perform routine on-site inspections before installation, avoiding overconfidence or assumptions.
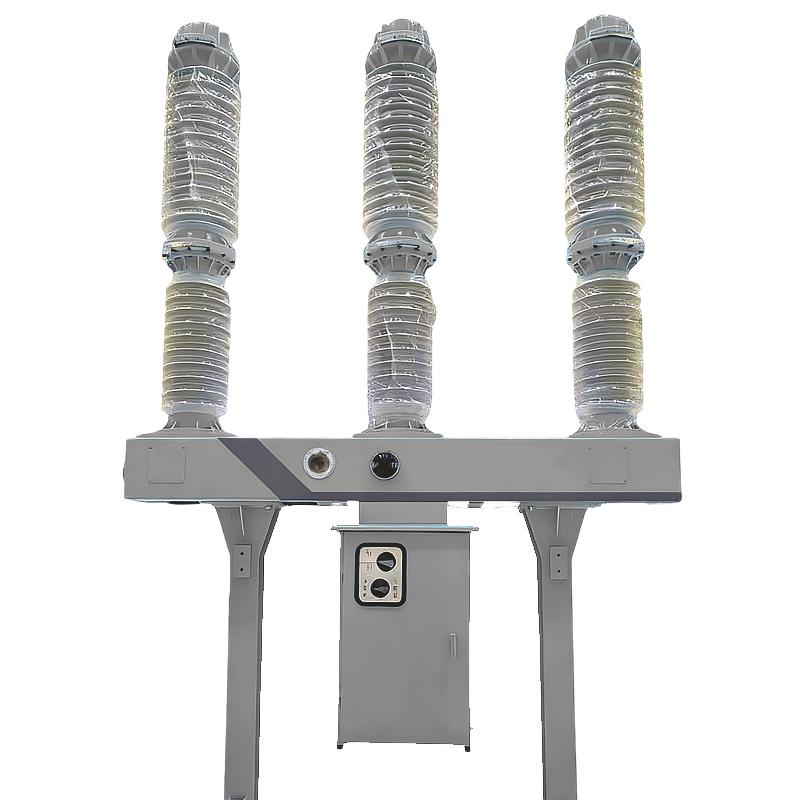
Prior to installation, conduct visual and internal inspections of the vacuum circuit breaker to ensure the vacuum interrupter, all parts, and subassemblies are complete, qualified, undamaged, and free of foreign objects.
Strictly follow the installation workmanship specifications; fasteners used for component assembly must conform to the design requirements.
Verify inter-pole distances and the positional spacing of upper and lower outgoing terminals to ensure compliance with relevant technical standards.
All tools used must be clean and suitable for assembly tasks. When tightening screws near the interrupter, adjustable wrenches (e.g., crescent wrenches) must not be used.
All rotating and sliding parts should move freely, and lubricating grease must be applied to friction surfaces.
After successful overall installation and commissioning, thoroughly clean the unit. Mark all adjustable connection points with red paint, and apply anti-corrosion grease to the outgoing terminal connections.
II. Adjustment of Mechanical Characteristics During Operation
Typically, manufacturers fully adjust mechanical parameters—such as contact gap, stroke, contact travel (overtravel), three-phase synchronization, opening/closing times, and operating speeds—during factory testing, and provide a test record with the equipment. In field applications, only minor adjustments to three-phase synchronization, opening/closing speeds, and closing bounce are usually needed before the breaker is ready for service.
(1) Adjustment of Three-Phase Synchronization:
Identify the phase with the largest discrepancy in opening/closing timing. If that pole closes too early or too late, slightly increase or decrease its contact gap by rotating the adjustable coupling on its insulating pull rod half a turn inward or outward. This typically brings the out-of-synchronism within 1 mm, achieving optimal synchronization.
(2) Adjustment of Opening and Closing Speeds:
Opening and closing speeds are influenced by multiple factors. On-site, only the opening spring tension and contact travel (i.e., compression of the contact pressure spring) can be adjusted. The tightness of the opening spring directly affects both closing and opening speeds, while contact travel primarily influences opening speed.
If closing speed is too high and opening speed too low, slightly increase the contact travel or tighten the opening spring.
Conversely, loosen the spring if needed.
If closing speed is acceptable but opening speed is low, increase the total stroke by 0.1–0.2 mm, which increases contact travel for all poles by approximately the same amount and raises opening speed.
If opening speed is too high, reduce contact travel by 0.1–0.2 mm to lower it.
After adjusting synchronization and speeds, always re-measure and verify the contact gap and contact travel for each pole to ensure compliance with the manufacturer’s specifications.
(3) Elimination of Closing Bounce:
Closing bounce is a common issue in vacuum circuit breakers. Main causes include:
Excessive mechanical impact during closing, causing axial rebound of the moving contact;
Poor guidance of the moving contact rod, leading to excessive wobble;
Excessive clearance in the transmission linkage;
Poor perpendicularity between the contact surface and the central axis, causing lateral sliding upon contact.
For an assembled product, overall structural rigidity is fixed and cannot be altered on-site. In coaxial designs, the contact spring is directly connected to the conductive rod without intermediate parts, so no clearance exists. However, in non-coaxial designs, a triangular crank arm connects the contact spring to the moving rod via three pins, creating three potential clearances—this is a key source of bounce and the primary focus for correction. Additionally, the transmission clearance between the initial end of the contact spring and the conductive rod should be minimized to make the linkage as compact as possible, eliminating play or buffering gaps. If bounce is caused by poor flatness or perpendicularity of the interrupter’s contact surface, try rotating the interrupter by 90°, 180°, or 270° during installation to find the best mating position. If the problem persists, replace the vacuum interrupter.
During bounce correction, ensure all screws are securely tightened to prevent interference from vibration or shock.