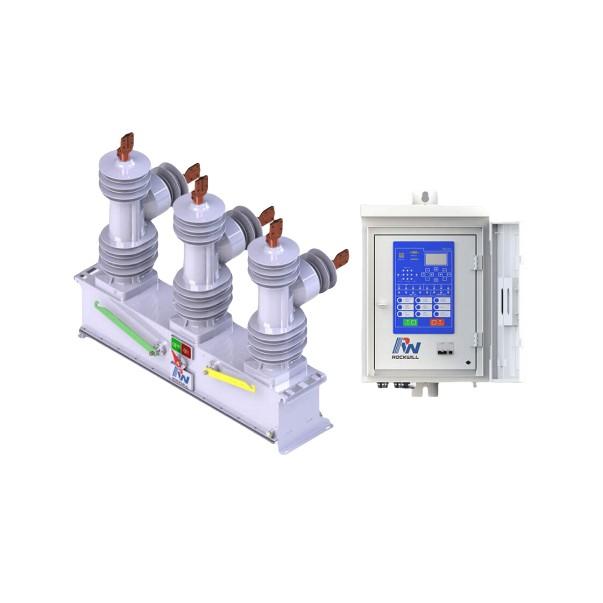
Pag-install at Pag-ayos ng Vacuum Circuit Breakers
1. Mga Kahilingan sa Pag-install
Dapat suriin at aprubahan ang lahat ng mga bahagi at komponente bago ang pag-install.
Ang mga panakop at kagamitan na gagamitin para sa pag-install ay dapat malinis at sumasang-ayon sa mga kahilingan sa pag-assemble. Ang mga naka-fix na fasteners ay dapat mabigat gamit ang box-end, ring, o socket wrenches. Hindi dapat gamitin ang adjustable (open-end) wrenches kapag ini-tighten ang mga screws malapit sa arc extinguishing chamber.
Ang pagkakasunod-sunod ng pag-install ay dapat sumunod sa tinukoy na proseso ng pag-assemble. Ang mga uri at specifications ng mga fastener ay dapat sumunod ng mahigpit sa mga kahilingan sa disenyo. Partikular na, ang haba ng mga bolt na naka-fix sa stationary contact terminal ng arc extinguishing chamber ay hindi dapat mali.
Matapos ang pag-assemble, ang distansya ng pole-to-pole at ang positional distances ng upper at lower output terminals ay dapat sumunod sa mga specification sa drawing.
Ang lahat ng mga rotating at sliding components ay dapat malayang gumalaw matapos ang pag-assemble. Dapat ilagay ang lubricating grease sa friction surfaces.
Matapos ang matagumpay na pag-ayos at pagsusuri, linisin at i-wipe nang buo ang lahat ng mga bahagi. Markahan ang mga adjustable connection points ng pulang pintura upang ipakita ang posisyon, at coatin ang output terminals ng petroleum jelly, pagkatapos balutin ito ng malinis na papel para sa proteksyon.
2. Proseso ng Pag-assemble
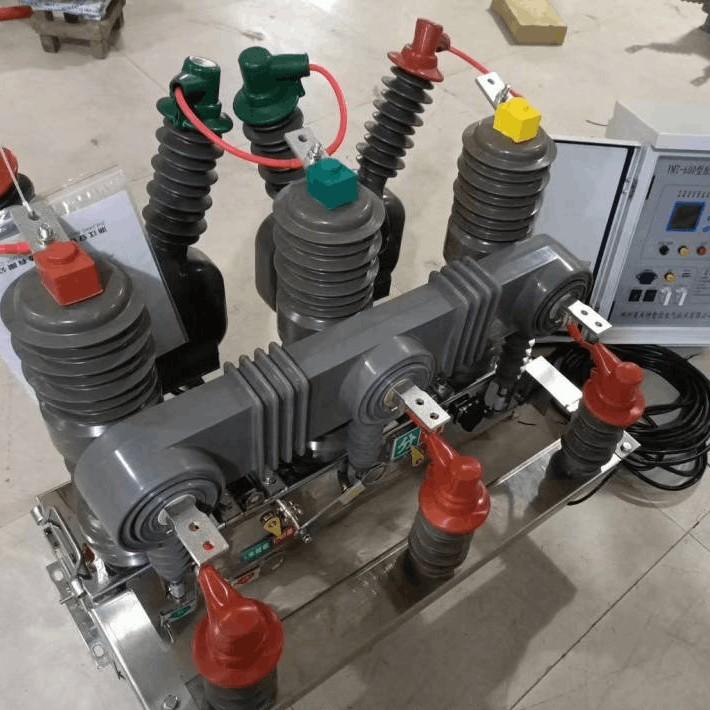
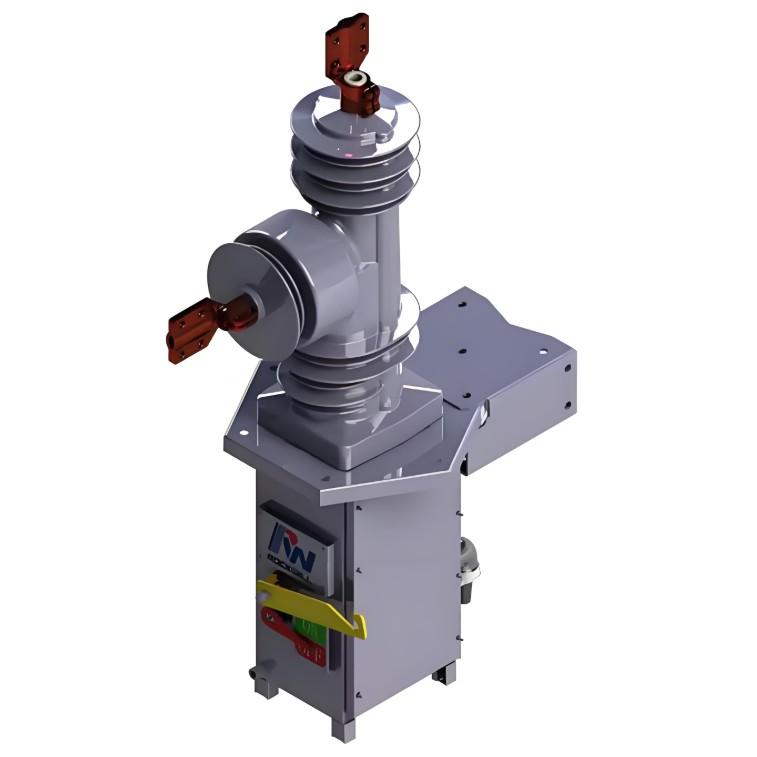
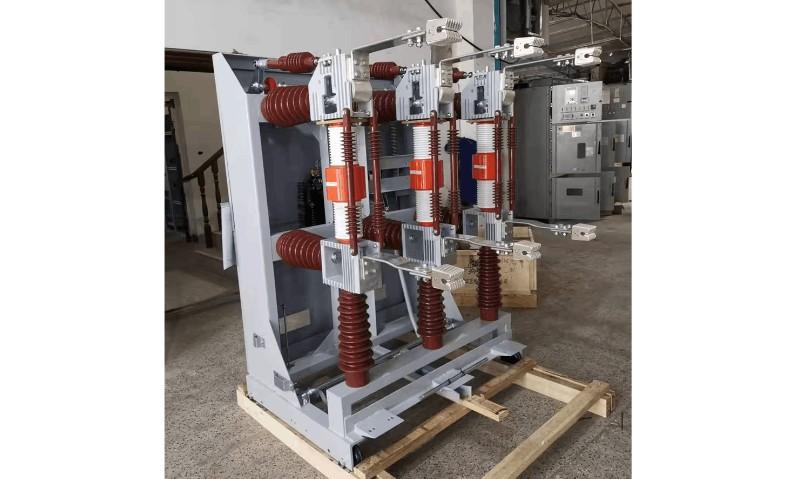
Bilang halimbawa, ang ZN39-type vacuum circuit breaker, ang pag-assemble ay karaniwang nahahati sa tatlong bahagi: front, upper, at rear.
Sekwensya ng Pag-assemble ng Front Section:
Frame positioning → Support insulators → Horizontal insulators → Support bracket → Lower busbar → Arc extinguishing chamber and parallel insulating rods → Upper busbar → Conductive clamp with flexible connection → Contact spring seat and sleeve → Triangular crank arm.
Sekwensya ng Pag-assemble ng Upper Section:
Main shaft and bearing housing → Oil damper → Insulating push rod.
Sekwensya ng Pag-assemble ng Rear Section:
Operating mechanism → Opening spring → Counter, open/close indicator, grounding mark.
Integrasyon ng Tatlong Seksiyon:
Konektahin ang front at upper sections: linkin ang adjustable joint ng insulating push rod sa triangular crank arm gamit ang pin.
Konektahin ang rear at upper sections: linkin ang adjustable drive rod ng operating mechanism sa main shaft crank arm gamit ang pin.
Ang proseso ng pag-assemble ay simple, intuitive, at convenient.
3. Pag-ayos ng Mekanikal na Katangian
3.1 Unang Pag-ayos
Ang unang pag-ayos ay pangunahing kasama ang coarse tuning ng contact gap (opening distance) at contact travel (overtravel) para sa bawat pole matapos ang full assembly.
Manually close the breaker nang mabagal upang veripikahin ang tama na pag-install at koneksyon ng lahat ng mga komponente. Iwasan ang pag-set ng sobrang contact travel, dahil ito ay maaaring fully compress ang closing spring (spring binding), na maaaring magdulot ng pinsala sa mga komponente. Upang maiwasan ito, unawang itatakda ang adjustable joint ng insulating push rod bilang mas maikli (screwed in). Matapos mapatunayan ang smooth manual operation, proceed to measure and adjust the opening distance and contact travel.
3.2 Pag-ayos ng Opening Distance at Contact Travel
Ang vacuum circuit breakers ay maaaring hahatiin sa dalawang uri batay sa relasyong posisyon ng moving contact rod axis at closing spring axis:
Type I: Coaxial Structure – Moving contact cup axis coincides with the closing spring axis.
Type II: Offset (Non-coaxial) Structure – Moving contact rod axis is separate from the closing spring axis, with the spring mounted on the insulating push rod shaft, nearly perpendicular to the contact rod.
Ang mga paraan ng pagkalkula at pag-ayos ay may kaunting pagkakaiba sa pagitan ng dalawang uri.
Ang mga mechanical characteristic tables para sa iba't ibang vacuum circuit breakers ay naglalaman ng nominal values para sa opening distance at contact travel. Matapos ang manual na pag-open at pag-close operations at pag-measure ng actual values, ayusin ang mga sumusunod upang sumunod sa mga technical specifications.
(1) Pag-ayos para sa Coaxial Structures
Step 1: Ayusin ang Total Travel
Total travel = Opening distance + Contact travel.
Kung ang total travel ay mas mababa sa suma ng mga nominal values, ang pag-ikot ng main shaft ay hindi sapat. Pahabain ang adjustable connecting rod sa pagitan ng operating mechanism at main shaft crank arm. Kung masyadong mahaba, ikotin ito. Ito ay sigurado na ang total travel ay sumasang-ayon sa mga kahilingan.
Step 2: Ayusin ang Distribution Between Opening Distance at Contact Travel
Ayusin ang threaded connection sa harapan ng bawat pole’s insulating rod.
Minimum adjustment: half a thread pitch (by turning the joint 180°).
Ang threaded joint na ito ay din ayusin ang three-phase synchronization. Ang mga pag-aayos ay dapat balansehin ang mga travel values at phase synchronization. Ulangin ang manual open/close cycles hanggang sa pareho silang nasa tolerance. Huwag lampa sa maximum allowable contact travel upang maiwasan ang spring binding at pinsala sa mga komponente.
Pahabain ang koneksyon (screw out): Opening distance ↑, Contact travel ↓
Ikotin ang koneksyon (screw in): Opening distance ↓, Contact travel ↑
(2) Pag-ayos para sa Offset (Non-coaxial) Structures
Sa disenyo na ito, ang closing spring axis at moving contact axis ay hindi aligned, kaya ang total travel ay walang direkta na pisikal na kahulugan. Ang mga paraan ng pag-ayos ay may kaunting pagkakaiba:
Opening Distance Adjustment:
Natutukoy gamit ang "opening distance adjustment shim" na nakalagay sa frame. Ang taas ng shim ay ayusin sa pamamagitan ng pagdaragdag o pagbawas ng mga layer. Ang itaas ay pinindot ng crank arm ng main shaft. Ang pagbabago sa taas ng shim ay nagbabago rin ng initial angle ng main shaft sa open position, na nagbabago rin ng contact opening distance sa pamamagitan ng insulating push rod.
Contact Travel Adjustment:
Ang pre-compression height (B1) ng contact spring ay fixed sa pamamagitan ng roller diameter at hindi maaaring baguhin. Ang final compression height (B2) matapos ang pag-close ay ayusin sa pamamagitan ng:
Sa panahon ng pag-ayos, samantalang optimize ang three-phase synchronization, gawin ang repeated fine adjustments hanggang sa lahat ng parameters ay nasa tolerance.
Pahabain ang rod: B2 decreases → Contact travel increases
Ikotin ang rod: B2 increases → Contact travel decreases
Screw in (ikotin ang rod): B2 increases → Contact travel decreases
Screw out (pahabain ang rod): B2 decreases → Contact travel increases
A. Ayusin ang threaded joint sa dulo ng insulating push rod:
B. Ayusin ang haba ng connecting rod sa pagitan ng operating mechanism at main shaft crank arm:
(3) Auxiliary Switch Interlock Adjustment
Matapos ang manual na pag-ayos ng opening distance at contact travel, ang posisyon ng auxiliary switch interlock ay dapat wastong itakda bago ang electric operation—kung hindi, maaaring masira ang mga electrical components.
Proseso ng Pag-ayos:
Ihiwalay ang pin sa pagitan ng auxiliary switch at main shaft crank arm linkage.
Manually close the breaker habang inu-rotate ang auxiliary switch sa punto bago ito trip. Ayusin ang haba ng adjustable rod at bolt upang ang pin holes ay magalign nang medyo.
Manually open the breaker at i-rotate ang auxiliary switch sa trip point ulit, siguraduhin na ang pin holes ay magalign.
Ulangin ang proseso hanggang sa makamit ang alignment sa parehong open at close positions, pagkatapos ay ilagay ang pin.
Siguraduhin na ang auxiliary switch contacts open slightly before the main contacts fully close or open.
4. Pagsubok, Fine Adjustment, at Factory Tests ng Mekanikal na Katangian
4.1 Characteristic Testing
Matapos ang unang pag-ayos ng opening distance, contact travel, at auxiliary switch, gawin ang electric open/close operations at imeasure ang mga sumusunod na mekanikal na katangian:
Testing Instruments:
Optical oscillograph – highly accurate and visual
Circuit breaker analyzer – simple, fast, and sufficiently accurate for field use
(Specific test methods are not detailed here.)
4.2 Fine Adjustment of Mechanical Characteristics
Matapos ang testing, gawin ang fine adjustments sa anumang out-of-spec parameters upang makamit ang optimal performance.
(1) Fine Adjustment of Synchronization
Identify the phase with the greatest timing deviation. If one pole closes too early (or late), slightly increase (or decrease) its opening distance by turning the insulating rod’s adjustable joint in (for earlier closure) or out (for later closure) by about half a turn. Typically, this can reduce synchronization error to within 1 ms.
(2) Fine Adjustment of Opening/Closing Speed
Speed is influenced by multiple factors, but key adjustable elements are the opening spring tension and contact travel.
Closing speed too high, opening speed too low:
Increase contact travel or tighten the opening spring.
Closing speed acceptable, opening speed too low:
Increase total travel by 0.1–0.2 mm, which increases contact travel and improves opening speed.
Opening speed too high:
Reduce contact travel by 0.1–0.2 mm to lower speed.
After adjustment, re-measure opening distance and contact travel to ensure they remain within specified ranges.
(3) Elimination of Closing Bounce
Closing bounce may result from:
Excessive closing impact rigidity, causing axial rebound of the moving contact.
Poor guidance of the moving contact rod, resulting in excessive wobble.
Excessive clearance in transmission links, especially between the contact spring and the conductive rod.
Poor perpendicularity between the contact surface and the central axis, causing lateral slip upon contact (appears as "bounce" on oscillograms).
Mitigation Measures:
Design should avoid excessive mechanical rigidity (not adjustable post-manufacture).
Ensure proper guidance clearance for the moving contact rod.
In coaxial designs, the contact spring connects directly to the conductive rod—no intermediate links, hence less bounce.
In offset designs, a triangular crank arm with three pins introduces three potential clearances, increasing bounce risk.
If bounce is caused by poor perpendicularity of the arc extinguishing chamber contact surface, try rotating the chamber by 90°, 180°, or 270° during assembly to find the optimal alignment. If ineffective, replace the arc extinguishing chamber.
Ensure all screws are fully tightened during adjustment to avoid vibration interference.
(4) Factory Acceptance Tests
After all mechanical characteristics meet specifications, perform 50 operation cycles (open/close and reclose) at maximum, minimum, and rated control voltage as per factory requirements.
After 50 operations, re-measure all mechanical parameters. Results should closely match initial measurements to pass.
Finally, perform:
Only units passing all tests are approved for shipment.

