1. Pag-prepare sa Pre-Installation
Bago magsugod sa pag-install, ang mga sumusunod na preparatory steps kailangan matapos:
Organization ug Training: Ihanda ang mga session sa training para sa tanang personnel sa construction tungod sa relevant regulations, technical standards, ug construction procedures. I-emphasize ang safety protocols.
Pag-survey sa Site: Isusi ang intended location sa circuit breaker, ang foundation, ug ang layout sa surrounding equipment ug wiring aron malikayan ang accidental contact sa energized equipment sa panahon sa installation.
Preparation sa Tools ug Materials: Ihanda ang specialized tools ug required materials near sa work site ug implementa ang protective measures labi na kon may ulan. Ihanda ang detailed checklist sa tanang tools ug materials, kasama ang types ug quantities.
2. Common Issues Sa Panahon sa Installation ug Corresponding Solutions
Bago magsugod sa installation, isulat ang mga sumusunod nga additional inspections:
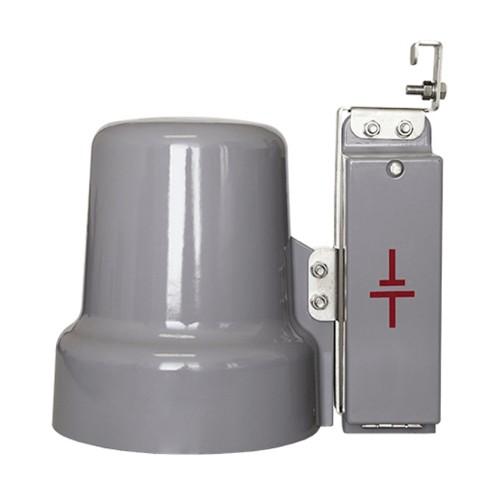
Inspection sa Internal Components: Suriin ang tanang internal components (e.g., relays) sa operating mechanism kung complete ug undamaged. Paghigayonon ang insulating parts, siguraduhon nga walay cracks o damage sa ilang surfaces.
Inspection sa Porcelain Bushings: Isusi ang porcelain bushings aron smooth ug walay cracks. Kon in doubt, request non-destructive testing (NDT). Siguraduhon usab ang strength ug integrity sa bond sa bushing ug flange.
Inspection sa Component Materials: Confirm ang availability ug condition sa bolts, sealing gaskets, sealing grease, lubricating grease, ug uban pang auxiliary materials.
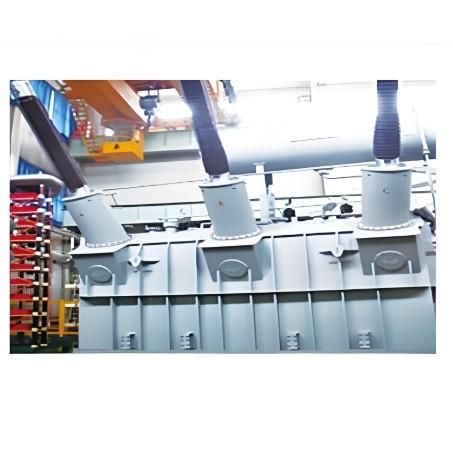
Installation sa Support Structure
Gamitang cranes sa lifting, adunay usa ka signalman assigned per crane.
Ang crane operators ug signalmen kinahanglan mag-atiman aron malikayan ang contact sa crane boom ug overhead busbars o electrical equipment sa adjacent bays.
Tanang ibang personnel adunay responsibilidad nga babalaka ug mag-prevent sa accidental contact.
Dili mogamit og higit sa tulo ka shims sa pagitan sa support ug foundation, ang total thickness dili mogamit og higit sa 10 mm.
Installation sa Crossbeam ug Operating Mechanism
Ang crossbeam ug operating mechanism form isip usa ka unit. Gamita ang duha ka lifting slings sa panahon sa hoisting—isa attached sa crossbeam ug ang uban sa operating mechanism—aroon malikayan ang imbalance.
Pagkatapos sa installation, verify nga ang crossbeam level ug meets specified tolerances.
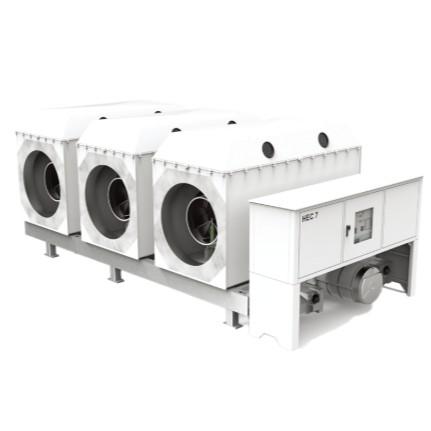
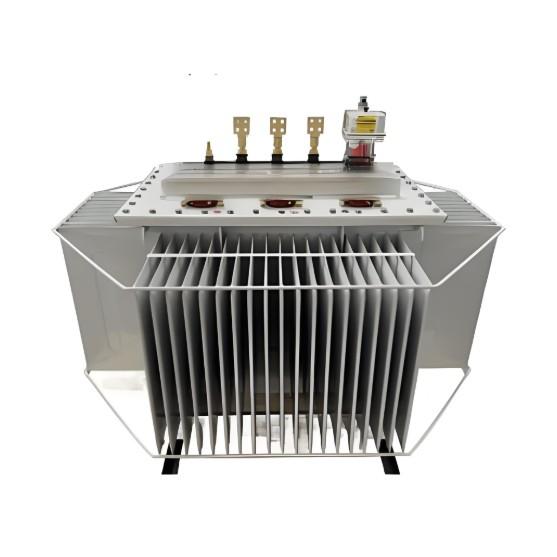
Installation sa Main Pole Column
Siguraduhon nga ang flange surfaces sa three-phase porcelain bushings aligned sa same horizontal plane.
Ang deviation sa center-to-center distance sa each pole column dili mogamit og higit sa 5 mm.
Gamita ang torque wrench aron mapataas ang bolts connecting ang pole column sa crossbeam, siguraduhon nga ang torque values comply sa manufacturer’s specifications.
Connecting Linkages, Secondary Wiring, Primary Leads, ug SF6 Piping
Linkage Connections
Sequence: Una connect ang linkage sa pagitan sa pole column ug operating mechanism, pagkatapos connect ang linkages sa pagitan sa pole columns.
Apply ang mixture sa engine oil ug molybdenum disulfide lubricant sa pin joints aron masiguro ang smooth operation.
Secondary Control Wiring
Siguraduhon ang correct wiring, walay loose o false connections.
Each secondary wire kinahanglan adunay clearly ug accurately labeled wire marker aron madali ang future troubleshooting.
Primary Lead Connections
Siguraduhon nga ang contact surfaces sa terminal clamps flat ug clean.
Kon present ang oxidation, polish ang surface sa sandpaper. Para sa silver-plated surfaces, gamita ang backside sa sandpaper aron malikayan ang damage sa plating.
Apply ang uniform layer sa electrical compound grease pagkatapos sa cleaning, ang thickness dili mogamit og higit sa 1 mm.
Kapag insert ang bolts, orient ang bolt head downward ug ang nut upward (aroon mas detect ang loosening).
Tighten ang bolts diagonally sa sequence aron masiguro ang even pressure distribution.
SF6 Gas Piping Connections
Siguraduhon nga ang tanang joints tightly sealed. Gamita ang PTFE (Teflon) tape as secondary sealant sa threaded connections kon needed.
Gas Charging Procedure
Pagkatapos sa pag-connect sa charging equipment, slightly open ang gas cylinder valve aron purging air sa charging hose sa humong 3 minutes, siguraduhon nga ang hose free sa contaminants.
Wipe ang circuit breaker’s gas inlet port sa lint-free cloth dampened sa anhydrous alcohol hangtod totally clean ug dust-free.
Charge ang gas slowly aron malikayan ang frost formation sa cylinder o piping.
Fill hangtod sa rated pressure sa 0.5 MPa.
3. Testing ug Inspection
Pagkatapos sa installation, perform ang sumusunod nga tests aron ma-verify ang quality sa trabaho:
DC Resistance Test
Sa closed position sa circuit breaker, perform ang test phase by phase (A, B, C).
Requirement: DC resistance sa each phase dili mogamit og higit sa 40 µΩ.
Mechanical Characteristic Test
Ang sumusunod nga tests ug reference values kinahanglan (tan-aw Table 1):
Table 1. Reference Values for Mechanical Characteristics of LW25-126 Circuit Breaker
Test Item |
Standard Value |
Opening Time |
≤ 30 ms |
Closing Time |
≤ 150 ms |
Opening Synchronization |
≤ 2 ms |
Closing Synchronization |
≤ 4 ms |
Minimum Voltage for Opening |
≥ 66 V and ≤ 143 V |
Minimum Voltage for Closing |
≥ 66 V and ≤ 143 V |
Moisture (Micro Water) Test
Conduct ang test at least 24 hours after gas charging.
Requirement: Moisture content sa arc extinguishing chamber dili mogamit og higit sa 150 µL/L.