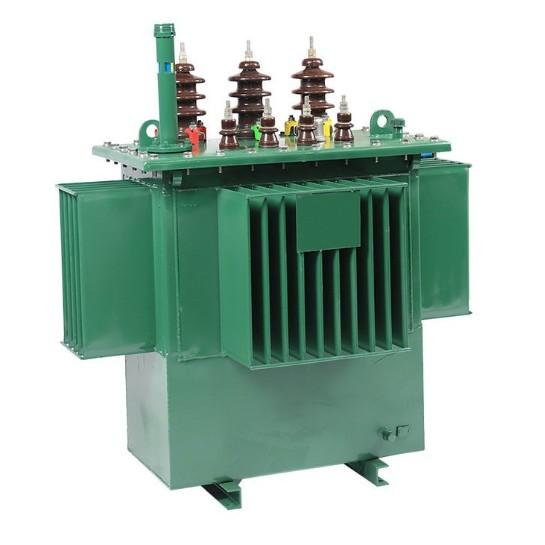
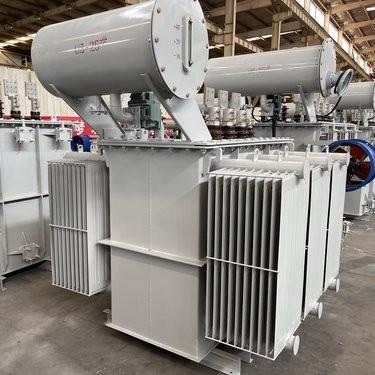
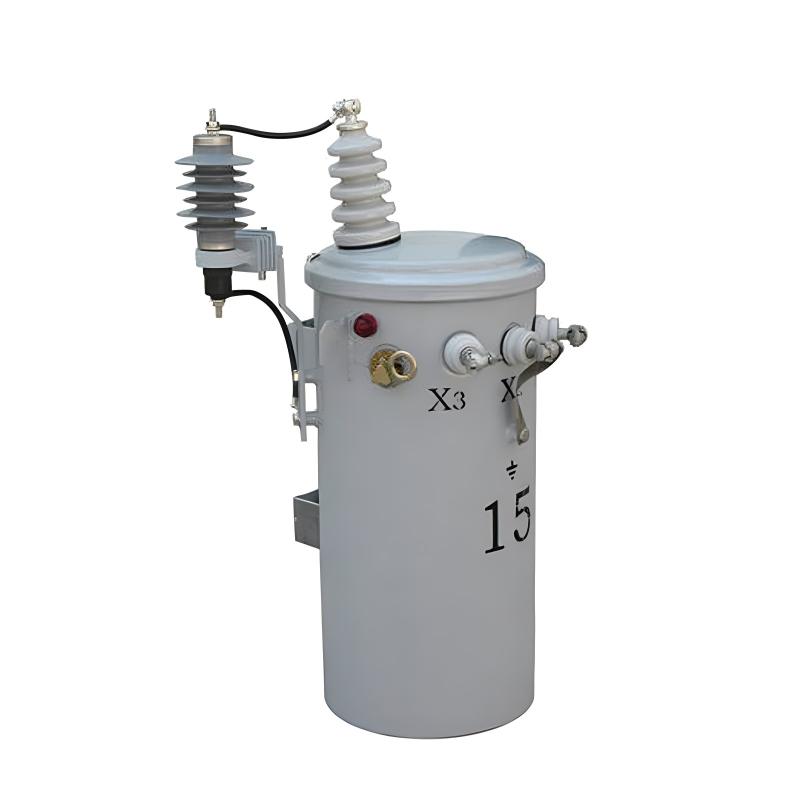
Ang gabay na ito ay komprehensibong sumasaklaw sa iba't ibang aspeto ng mga distribution transformers. Ito ay nagpapahalili sa mga elemento ng konstruksyon, kabilang ang core, windings, cooling system, tank at cover, conservator, pressure relief device, Buchholz relay, silica gel breather, at winding temperature indicator. Bukod dito, ito ay tumatalakay sa mga paksa tulad ng transport, packing, at despatch processes, installation procedures, fittings at accessories, commissioning steps, pati na rin ang operation at maintenance guidelines.

Ang transformer ay dapat na nasa isang ma-ventilated na lugar, na may proteksyon mula sa excessive dust, corrosive fumes, at katulad na contaminants. Mahalagang sapat ang ventilation para sa transformer tank at radiators upang mabawasan ang init. Kung ang transformer ay inilapat sa loob, dapat na may clear space ng humigit-kumulang 1.25 metro sa lahat ng gilid.
Ang foundation ay dapat matibay, pantay, at tuyo. Sa mga kaso kung saan may mga rollers, dapat na may appropriate rails.
Dapat magkaroon ng necessary arrangements para sa oil draining, tulad ng Oil Soak Pits, sa kaso ng pagkakaroon ng sunog. Dapat din magkaroon ng fire separation walls kapag kinakailangan.
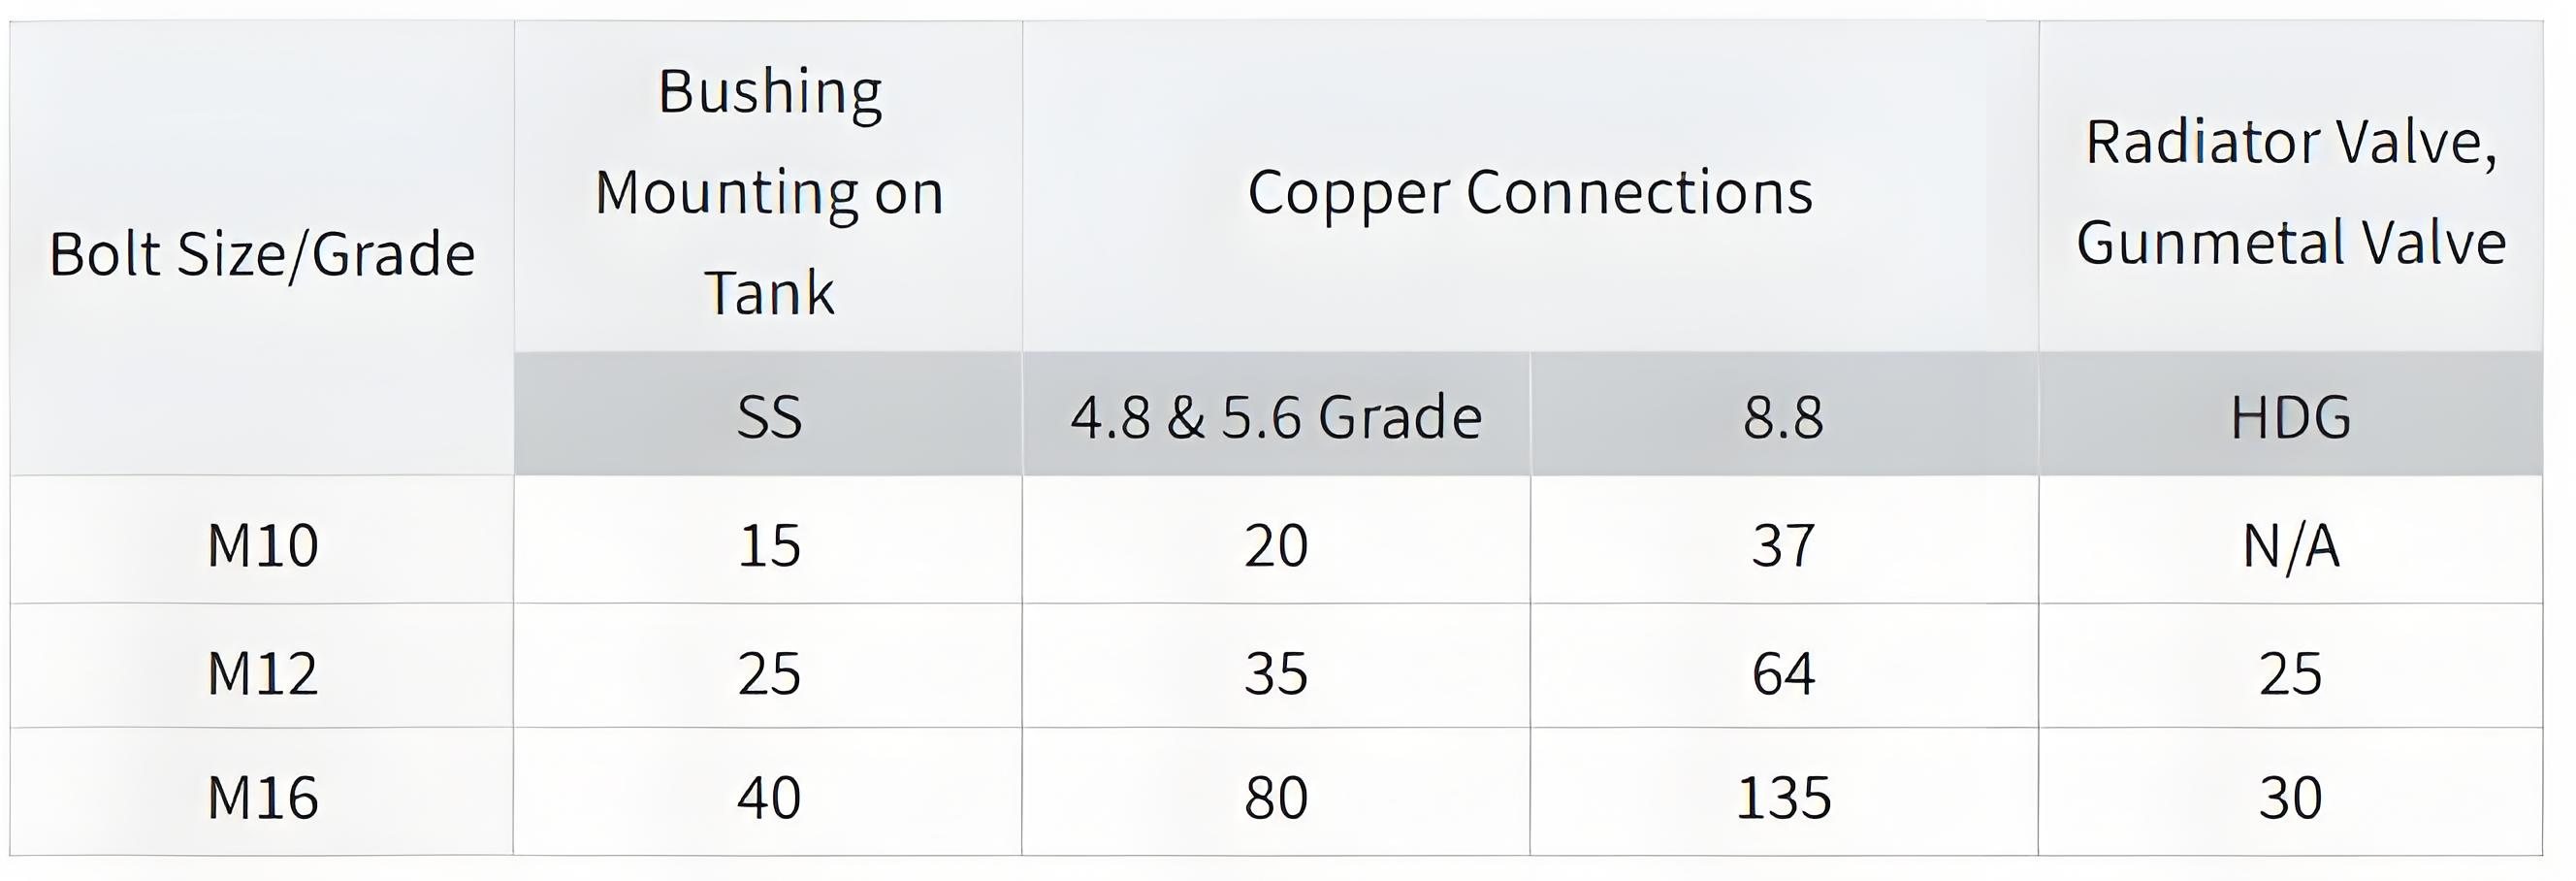
Ang mga component na in-disassemble para sa transport ay dapat na maayos na muling i-assemble. Ang torque values (in Newton-meters) para sa iba't ibang fastener sizes (nuts at bolts) ay kasunod:
Linisin ang bushings at suriin kung may anumang fine cracks o iba pang damages. Test the insulation resistance (IR) ng bawat bushing gamit ang 500V megger. Ang value ay dapat hindi bababa sa 100 megohms. I-record ang mga detalye ng bushings sa "Commissioning Report". I-install ang lahat ng bushings at siguruhin na ang mga test caps ay nakapitig ng maayos para sa reliable grounding.
I-adjust ang arcing horn gaps ayon sa requirements ng insulation coordination.
Kung ang MOG (presumably a specific component) ay may locking lever, alisin ito. I-install ang conservator. Sa kaso ng on-load tap changer (OLTC), ang kanyang conservator ay maaaring ibinigay nang hiwalay o bilang isang partitioned chamber sa main conservator. Kung ang OLTC conservator ay isang separate component, ito rin ay kailangang i-install.
I-install ang conservator ayon sa General Arrangement (G.A.) drawing. Karaniwan, ang small conservator para sa on-load tap changer ay konektado sa main conservator.
I-install ang connecting pipe with Buchholz relay sa pagitan ng main tank at conservator. Siguruhin na tama ang orientation ng Buchholz relay, na ang arrow sa ito ay tumuturo pabalik sa conservator.
I-install ang breather connecting pipes at silica gel breathers para sa main tank at OLTC conservators.
Kapag inilalapat ang flexi separator (air cell) sa loob ng conservator, ang mga sumusunod na hakbang ang maaaring sundin: (Mga specific installation steps maaaring idagdag dito ayon sa aktwal na nilalaman. Dahil walang relevant content ang ibinigay sa orihinal na teksto, maaari itong mas mapabuti kung may relevant content sa huli.)
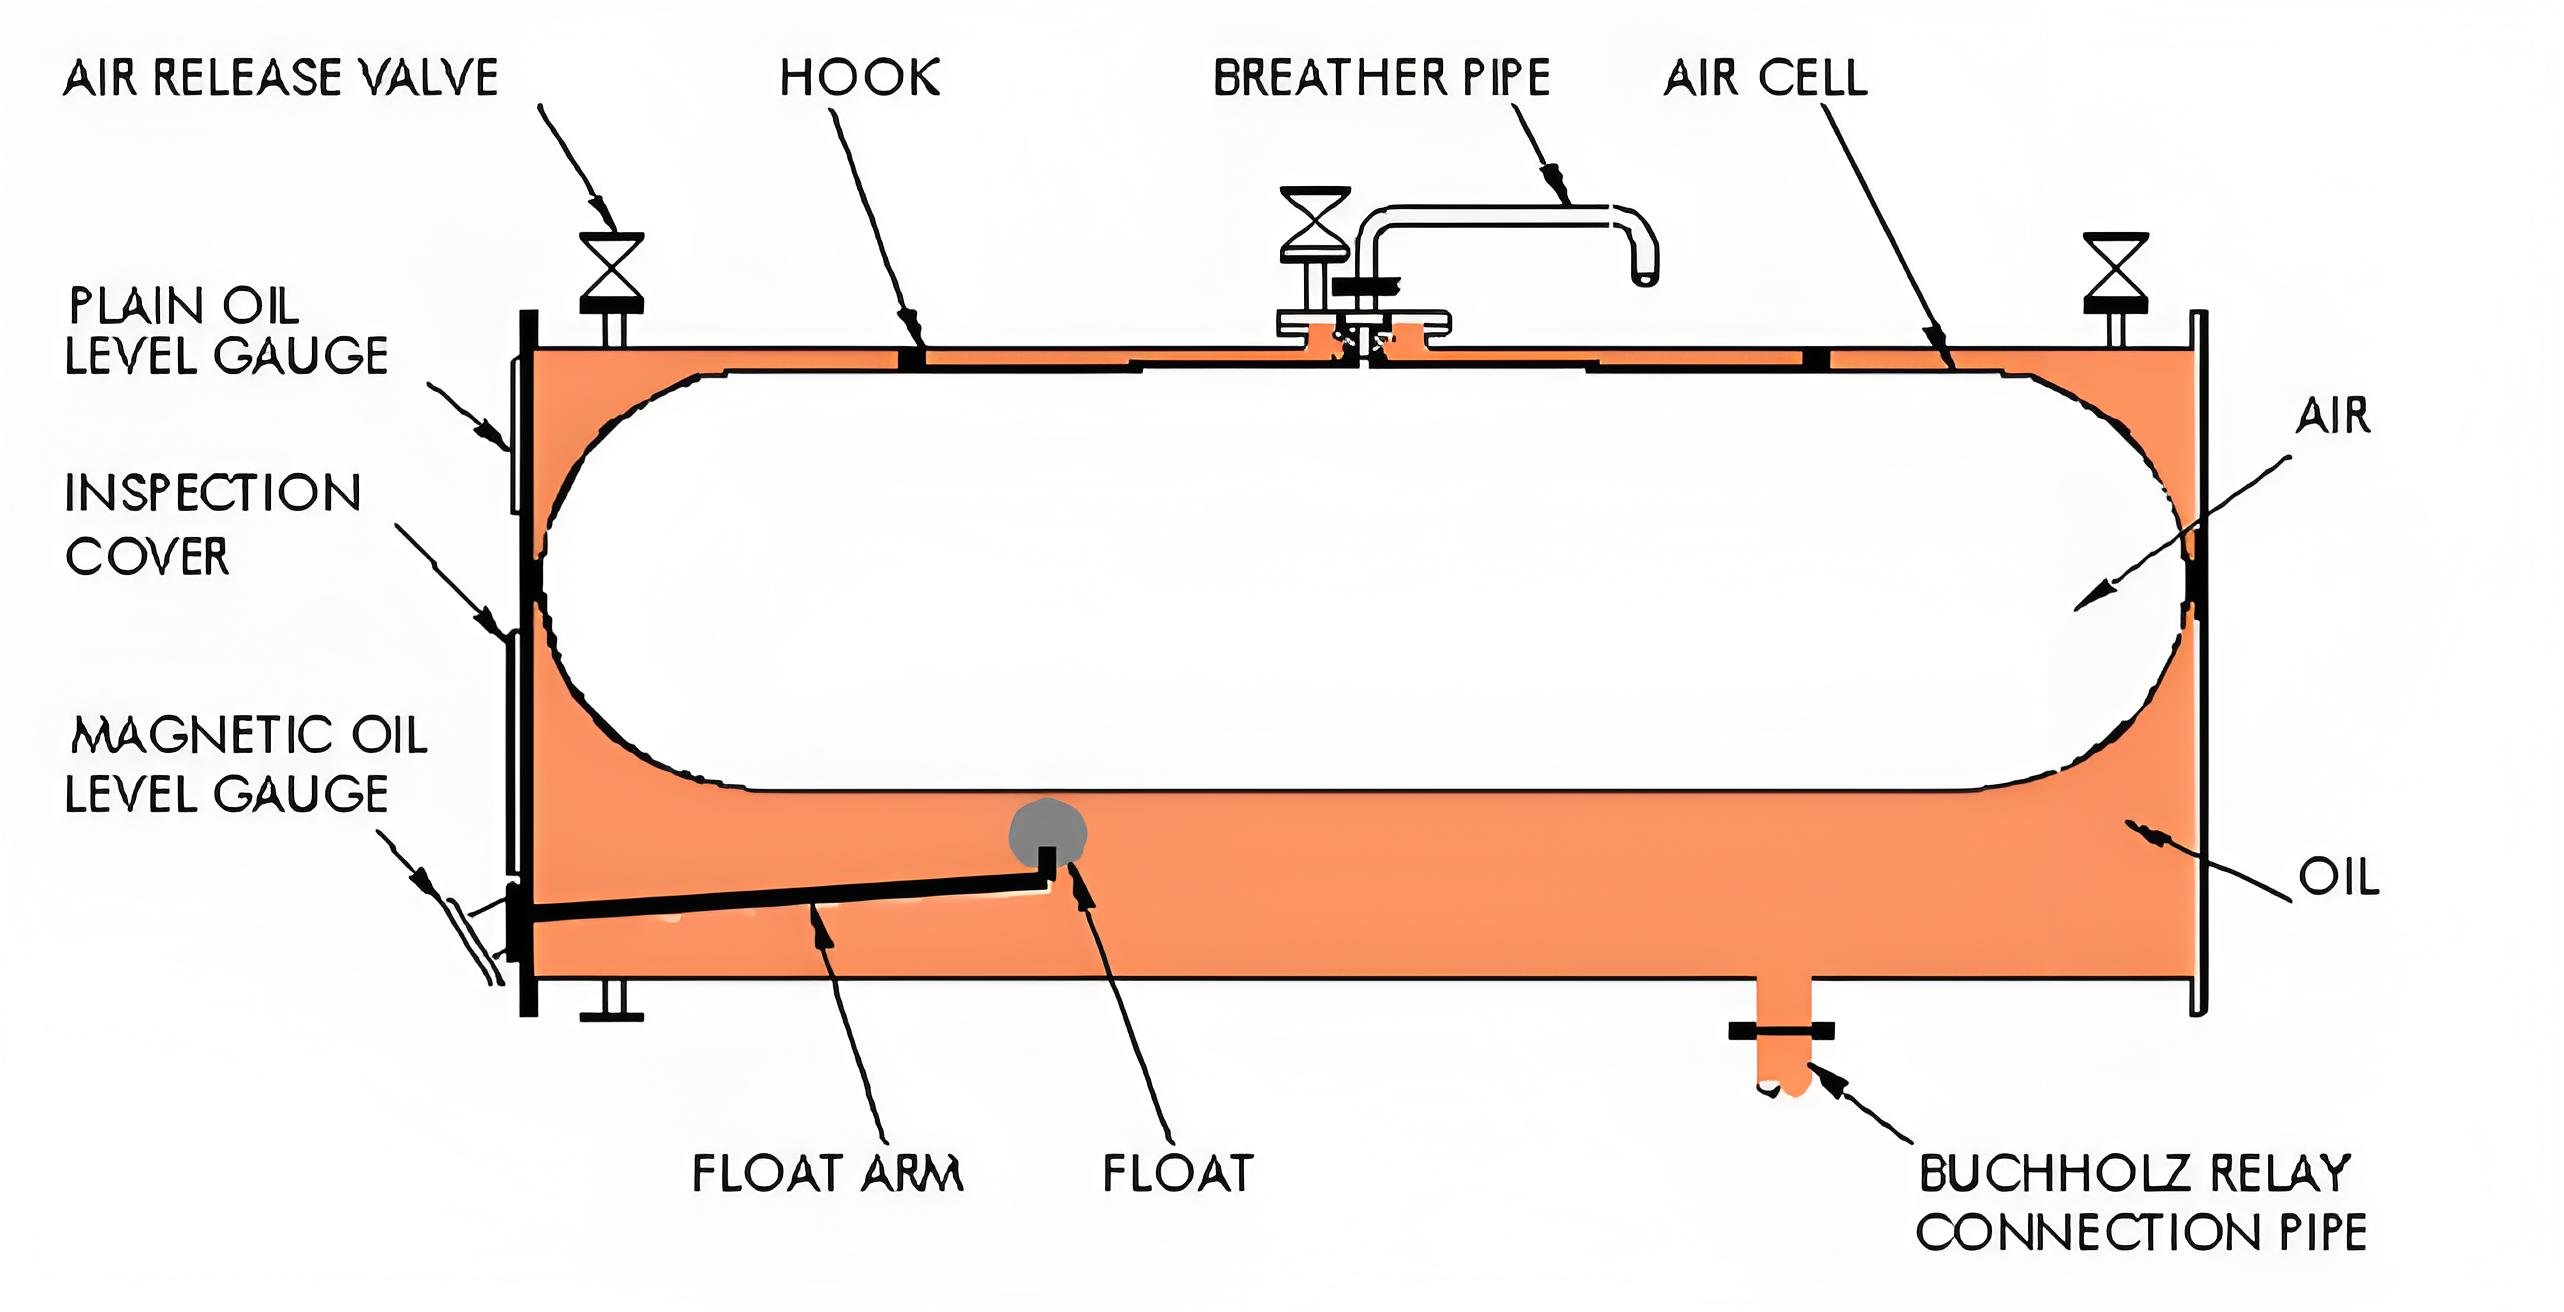
I-install ang air cell sa loob ng conservator. Siguruhin na ang mga hooks sa air cell ay maayos na nakakabit sa brackets sa loob ng conservator.
Suriin kung may anumang leaks at siguruhin na walang leak.
Ang conservator na may air cell ay na-pressure-test sa factory at inipinadala under a slight positive pressure. Konfirmahin na walang oil leakage.
I-install ang tatlong air-release valves sa conservator.
Panatilihin ang bukas ang air-release valves. I-attach ang air-filling adapter sa breather pipe at inflate the air cell to the air pressure indicated on the instruction plate affixed to the transformer. Panatilihin ang air pressure na ito.
Buksan ang air-release valves at simulan ang oil filling mula sa bottom filter valve ng transformer.
Bantayan ang air-release valves. Kapag nagsimulang lumabas ang langis, isara ang air-release valves one by one. Itigil ang oil filling kapag lahat ng air-release valves ay sarado.
Alisin ang air-filling adapter.
Patuloy na mag-oil filling at obserbahan ang Magnetic Oil Level Gauge (MOLG).
Itigil ang filling kapag ang needle ng MOLG ay umabot sa level na tumutugon sa ambient temperature during filling.
I-install ang silica-gel breather.
Huwag buksan ang anumang air-release valves pagkatapos ng oil filling. Kung binuksan ang isang air-release valve, papasok ang hangin at bababa ang oil level.
Ang ordinary oil-level gauge sa end-cover ng conservator ay dapat laging nagpapakita ng full oil level.
Kapag pumasok ang hangin sa conservator, ang pagbaba ng oil level sa ordinary oil-level gauge ay magpapakita nito.
Regularly monitor the ordinary oil-level gauge.
With the separator installed, the conservator is positioned and connected above the transformer, and its lower part is linked to the oil-filling reserve via a pipe. Proceed as follows:
Create a vacuum inside the separator.
Using the same vacuum source, create a vacuum in the conservator.
Open the oil-filling valve of the transformer. Due to the vacuum in the conservator, the oil level will rise automatically.
Stop oil filling once the required volume is reached in the conservator.
While maintaining the vacuum in the conservator, allow dry air or nitrogen gas to enter the interior of the separator. The separator will then inflate on its own and occupy the free space, as the conservator is not completely full. During operation, in particular, the oil will rise to the top of the conservator.
Inflate the separator to the maximum level indicated on the instruction plate.
Check the vent holes and confirm that there is no residual air in the conservator. Adjust the oil level if necessary.
The floats of the Buchholz relay are tied up during transportation to prevent damage. They should now be released. Additionally, if a 'Test' lever is present, it should be set to the working position.
If an On-Load Tap Changer (OLTC) is provided, it may have its own separate breather.
Check that the color of the silica gel in the main breather is blue.
Remove the rubber cap that closes the breather pipe and the breather.
Fill oil in the oil cup and remove the seal that closes the breather opening.
Similarly, install the OLTC breather.
Radiators should be assembled one at a time. The oil required to fill the radiators is shipped separately in drums. Test an oil sample from each drum for Breakdown Voltage (BDV). Ensure it exceeds the minimum value specified in Indian Standard (I.S.) 1866 for new transformers.
If an oil filter machine is available, use it to fill the conservator completely with oil.
Clean the exterior of one radiator. Remove the blanking plates and clean the gaskets and radiator flanges. If the gaskets are damaged, replace them with spare gaskets.
If the blanking plates are not in place and there is suspicion that foreign material may have entered the radiators, clean their interiors by flushing with fresh and clean transformer oil.
Oil may seep through the tank-side radiator valves and be retained by the blanking plates. This oil should be collected in a clean container when removing the top and bottom blanking plates.
Align the radiator flanges with those on the tank. Ensure that the tank gasket is in position. Fasten them with bolts, nuts, spring washers, etc.
Use the operating handle to open the bottom radiator valve. Gradually unscrew the air-release plug on top of the radiator until air starts to escape.
Do not fully remove the air-release plug from its threads, as it will be difficult to control the oil flow. Close the air-release plug when oil flows steadily from it and no more air comes out.
Open the top radiator valve. The oil level in the conservator will now have dropped. Check for any oil leakage from the radiator itself and the gasket joints.
Restore the oil level and assemble the next radiator in the same manner.