Alright, folks, Oliver Watts here. Been poking, prodding, and testing these pole-mounted breakers for about eight years now, mostly out in the field but also in the lab. Seen a fair share of good ones, bad ones, and... well, let's just say "interesting" ones. So, when we're talking about signing off on a qualified low-voltage pole-mounted circuit breaker – you know, one that's actually gonna do its job when the sh*t hits the fan out there on the line – it ain't just a quick visual check and a prayer. Nah, we've got a whole checklist, a proper run-down. Think of it like giving the breaker a full physical, making sure every system is A-OK before it gets shipped or installed. Let me walk you through the key things I'm looking at.
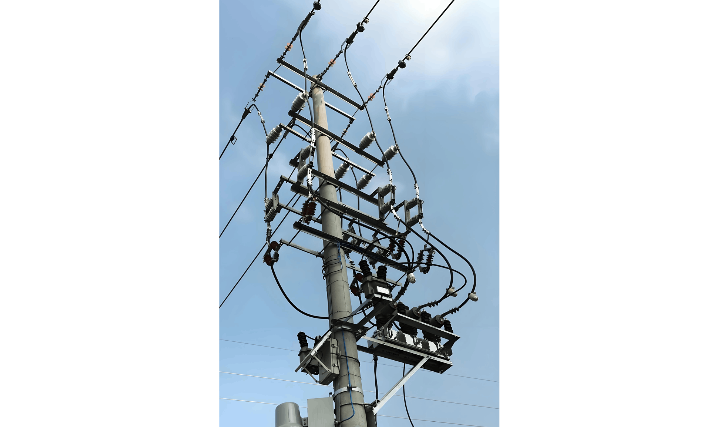
1. First Impressions & The Physical Stuff (Visual & Mechanical Checks)
This is step one, every single time. You'd be surprised what you catch just by looking.
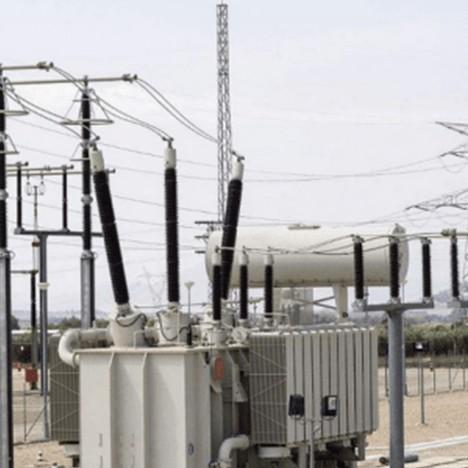
Cosmetic Damage? Dents, deep scratches on the insulator? That fiberglass or porcelain is its first line of defense. Any cracks? Game over, buddy. Rejected. Also, check the housing – any warping or signs it got dropped?
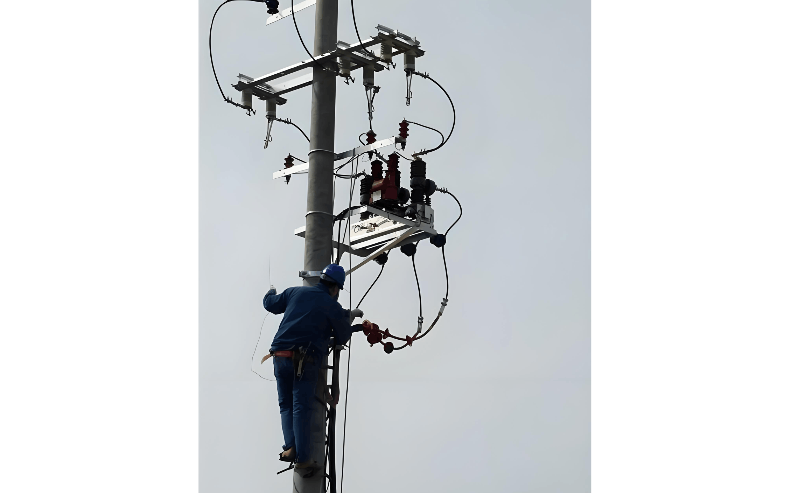
Tight & Secure? I go over every single bolt, every clamp, every connection point with a torque wrench. Loose hardware is a disaster waiting to happen, especially up on a pole vibrating in the wind. Gotta make sure everything is torqued to spec.
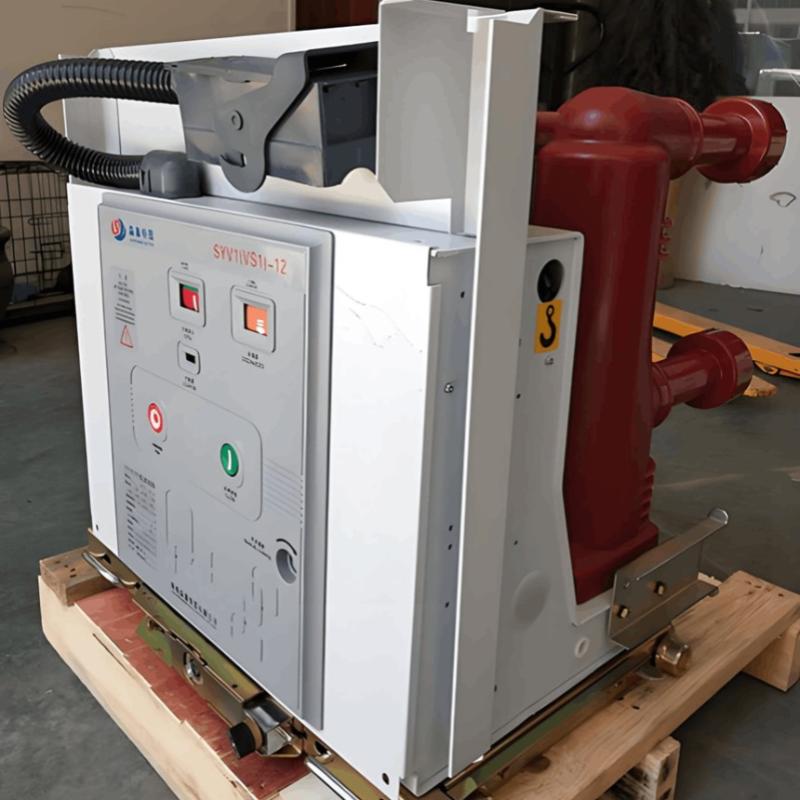
Mechanical Action Test (Dry Run): Before I even think about applying power, I manually cycle the breaker – open, close, open, close. Does it feel smooth? Or is it grinding, sticking, or requiring way too much force? That spring mechanism or the permanent magnet drive needs to operate freely. Any hesitation or roughness? Red flag. I'll dig deeper into the operating mechanism.
Seals & Gaskets: Especially if it's an SF6 unit (though less common at low-voltage, sometimes they are), I check the seals meticulously. Any sign of cracking, hardening, or damage? Moisture ingress is a killer for internal components.
2. The Electrical Heartbeat (Electrical Tests)
Okay, now we get to the fun stuff with the test gear. This is where we prove it can actually handle the juice.
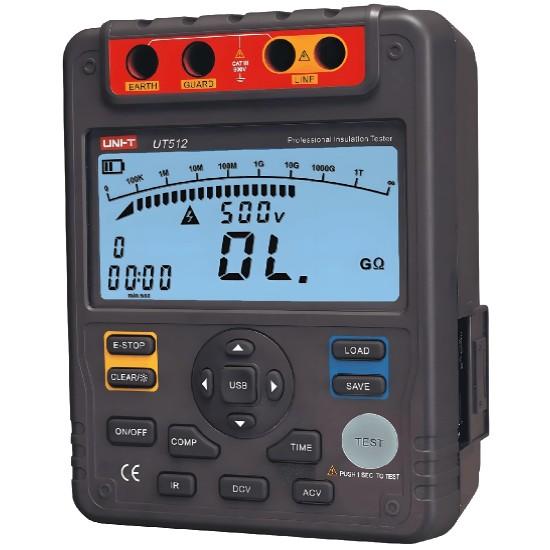
Insulation Resistance (Megger Test): This is crucial. I use a megohmmeter (Megger) to zap high DC voltage (usually 1000V or 2500V DC) between the phases and between each phase and ground. We're looking for megaohms, folks – ideally hundreds or thousands of megaohms. A low reading? That means moisture, contamination, or internal damage. Not good. This test tells you if the insulation (the posts, the internal barriers) can actually do its job and keep the current where it belongs.
Contact Resistance (DLRO Test): Time for the micro-ohmmeter (often called a DLRO – Ducter). I measure the resistance through the closed main contacts. Why? Because even a tiny bit of oxidation, wear, or poor contact pressure shows up as higher resistance. High resistance means heat, and heat means failure. We compare the reading to the manufacturer's spec – it needs to be spot on, usually in the micro-ohm range. If one phase is significantly higher than the others? That's a problem.
Primary Injection Test (High Current Test): This is the big one. I pump a lot of AC current (way above normal operating current, but below its rating) through the main contacts while the breaker is closed. I'm watching the voltage drop across the contacts with the DLRO again. This confirms the contact resistance under real-ish load conditions and also checks the integrity of the entire primary current path. It's a good stress test.
Secondary Injection Test (Protection Testing): Now we test the brains – the controller and the sensors. I simulate fault currents and voltages directly into the controller's input terminals (the secondary side of the CTs/VTs). Does the controller correctly detect the simulated overcurrent, short circuit, or earth fault? Does it send the trip signal at exactly the right time and current level according to its settings? This verifies the entire protection logic is working perfectly. I test all the protection functions it has.
Control Circuit Checks: Simple but vital. I verify the control power (usually 24V, 48V, or 110V DC/AC) is present and correct. I test the closing coil and the tripping coil. Do they operate reliably when commanded? I measure their resistance – a dead coil will show infinite resistance (open circuit) or zero (short circuit). I also check auxiliary contacts (the ones that signal "open" or "closed" status) to ensure they change state correctly.
3. The Real-World Simulation (Functional & Performance Tests)
This is where we see if it can actually perform its core job.
Timing Tests: Using a breaker analyzer, I connect it to the trip/close coils and the main contacts. When I send a trip command, how long does it actually take for the contacts to fully open? Same for closing. These times (especially the opening time for fault clearing) are critical and must be within the manufacturer's specified range. A slow trip can mean catastrophic damage downstream.
Trip & Close Operation: I command the breaker to trip and close multiple times using the controller or local commands. Does it do it every single time, reliably? No hesitations, no partial operations? This tests the whole sequence under electrical load (if primary injection is also running) or just the control power.
Interlocking Checks (if applicable): Some breakers have mechanical or electrical interlocks (e.g., preventing closing if grounded). I verify these safety features work as designed.
4. The Final Hurdle (Environmental & Final Checks)
Nameplate Verification: Does the nameplate match the order? Voltage, current rating, short-circuit breaking capacity (Ics, Icu), serial number – everything needs to be correct and legible.
Documentation Review: Is the test report complete? Does it include all the data from the tests above? Are the results within acceptable limits? No paperwork, no go.
Final Visual: One last once-over after all the testing. Any damage caused during testing? Everything still looks good?
The Bottom Line:
Look, a qualified breaker isn't just one that turns on. It's one that's been put through the wringer – visually inspected, electrically stressed, functionally proven, and documented. It's about confidence. When that breaker is hanging 30 feet in the air and a fault hits, the utility and the public need to know, without a shadow of a doubt, that it's going to open fast and safely. That's what this whole testing process is for. It's not glamorous, but it's absolutely essential. That's how we keep the lights on, safely. This is Oliver Watts, signing off.