Kontrola Servo Motori: Yek Pêşnûsa Teybet
Îmçavên Serbexer:
Taybetkirina Kontrola Servo Motori: Kontrola servo motori ya hedef dikirina rêzik, zevî û çatikilî yên motor bi sinyalên elektronîk.
Sistemê Bêrdehêjî: Sistemê bêrdehêjî, ke ziyadetir ji potensiyometra an encoder, dike ku cihêdan motor bi rêzikî kontrolê bêtewr bibêje.
Sinyal PWM: Modulasyonê demê (PWM) tuha e ji bo taybetkirina pozisyonê servo bi vekirtina derêjiya sinyalên elektrîk.
Arduino û Servo Motoran: Karberdena lîsana Arduino yek rastî û efektî ye ji bo programkirina û kontrolkirina servo motoran bi setî hardware minimal.
Karên Servo Motoran: Servo motoran pirseyar ne ji bo projeyên ku hewceyên kontrolê pozisyonê teqîn diben, wek robotîk û sistemên automatîk.
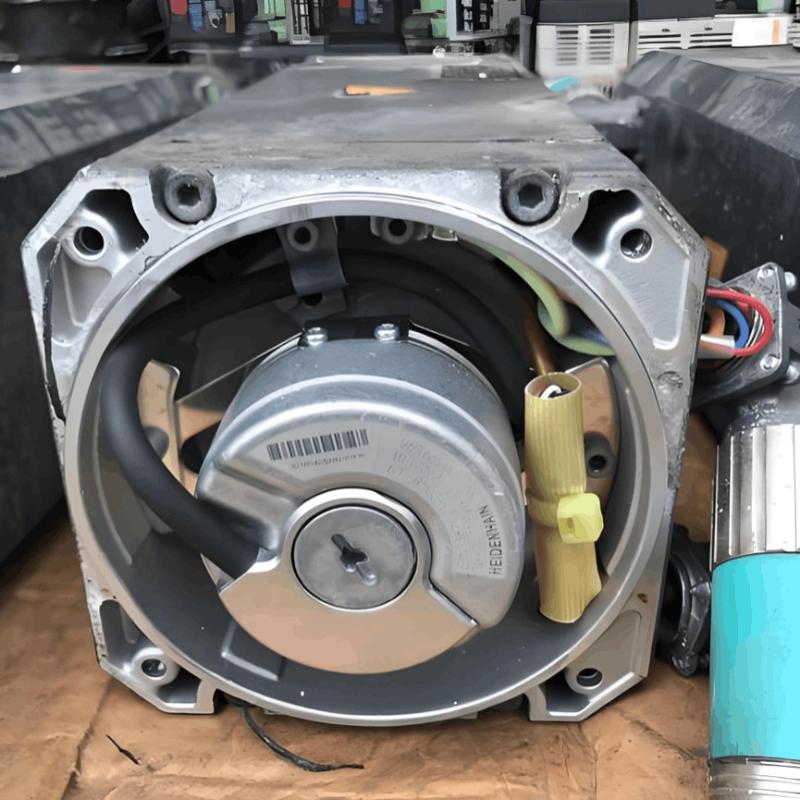
Servo motor yek motor e ji bo dêrik û teqînîya berbiyayî. Li gor koyê motor DC serbest, servo motorê girîng e ku pozisyonê teqîn bide ne ku beşdariyayî bibe. Vebijarka wê servo motoran ji bo robotîk, otomasyon û projeyên hobiyan pêşdest e.
Nivîska jêrîn nîşan dide ku kontrola servo motor êwendike, tiplên din servo motoran û metoda û cihedên din kontrol. Di navbera wan de wergerên nîmisazan servo motoran û projeyan da.
Çi ye Servo Motor?
Servo motor pêşnihatiye ji bo kontrola teqîn pozisyon (duz), zevî û çatikilî. Servo motor standart yekem ji se komponanan peyser hatiye: motor DC, circuit kontrol, û cihed bêrdehêjî.
Motor DC servo yekê şarazîne û bi gearên xwe girîng e ku zevî dabeşin û torque li shaftê derketîn.

Shafta derketîn yek parçe yekem a servo e ku girîng û mafan dikin.
Circuit kontrol wekî hejmarî ji bo derketina û pêşkirina sinyalên input ji controllerê derseri. Sinyalên wan dikin ku servo çi pozisyon, zevî, an dirêj bike. Circuit kontrol da heta saryek ji bo motor DC dikin bi karberdena power.
Cihed bêrdehêjî ziyadetir ji potensiyometra an encoder e ku poziyonên shafta derketîn bimare.

Cihed bêrdehêjî data pozisyonan bêrde circuit kontrol, ku heta power motor DC dikin bi karberdena aligning pozisyonên real bi rêzikî input sinyal.
Loopa bêrdehêjî yên circuit kontrol û cihed bêrdehêjî dike ku servo bi teqîn dikin bêrde û dayin pozisyonên her kes li range motion.
Ji Bo Kontrola Servo Motor?
Servo motoran bi karberdena sinyal PWM (modulasyonê demê) bi line signal servo dikin. PWM teknîk e ku sinyal on/off bikin bi demê raştî bi vekirtina pulse yan widths. Width pulse dikin pozisyon shafta derketîn.
Mînak, gerî sinyal PWM bi width pulse 1.5 milliseconds (ms) bişînin, servo dikin bêrde pozisyon neutral (90 derece).

Gerî sinyal PWM bi width pulse 1 ms bişînin, servo dikin bêrde pozisyon min (0 derece). Gerî sinyal PWM bi width pulse 2 ms bişînin, servo dikin bêrde pozisyon max (180 derece).
Sinyal PWM frequency 50 Hz e, ku demikar 20 ms. Width pulse dikin vekirin 1 ms ji 2 ms li ser demikar.
Çend rêzik dikin bi generate û send PWM sinyalan servo motoran. Rêzikên pêşdest:
Bi karberdena lîsana Arduino an microcontroller din
Bi karberdena potensiyometra an sensor analog din
Bi karberdena joystick an device digital input din
Bi karberdena servo controller an driver dedicated
Li paragrafên din, dikin explore rêzikên din bi detail û dikin mînan êwendike bi karberdena wan.
Kontrola Servo Motor bi Arduino
Arduino yek platform pêşdest e ji bo kontrola servo motoran. Lîsan Arduino output PWM built-in dikin bi karberdena send sinyal servo. Arduino heta library Servo dikin ku easy dikin bi write code ji bo kontrola servo.
Ji bo kontrola servo motor bi Arduino, dikin hewce:
Lîsana Arduino (wek Arduino UNO)
Servo motor standard (wek SG90)
Wire jumper
Breadboard (optional)
Wire red ji servo connect to 5V li lîsana Arduino. Wire black ji servo connect to GND li lîsana Arduino. Wire white ji servo connect to pin 9 li lîsana Arduino.
Ji bo program lîsana Arduino, dikin hewce bi karberdena IDE Arduino (online an offline). Dikin karberdena examples from the Servo library an write your own code.
The following code shows how to sweep a servo motor back and forth across 180 degrees using a for loop:
#include <Servo.h> // Include Servo library
Servo myservo; // Create Servo object
int pos = 0; // Variable for position
void setup() {
myservo.attach(9); // Attach Servo object to pin 9
}
void loop() {
for (pos = 0; pos <= 180; pos += 1) { // Loop from 0 to 180 degrees
myservo.write(pos); // Write position to Servo object
delay(15); // Wait 15 ms
}
for (pos = 180; pos >= 0; pos -= 1) { // Loop from 180 to 0 degrees
myservo.write(pos); // Write position to Servo object
delay(15); // Wait 15 ms
}
}
This code uses two loops to increment and decrement the position variable from 0 to 180 degrees and vice versa. It then writes this value to the Servo object using myservo.write(pos). It also adds a delay of 15 ms between each step to slow down the movement.
Upload this code to your Arduino board using the IDE’s Upload button, and watch as your servo motor sweeps back and forth smoothly.
Controlling a Servo Motor with Potentiometer
A potentiometer is an analog sensor that can vary its resistance depending on how much you turn its knob. You can use a potentiometer as an input device for controlling a servo motor.
To control a servo motor with a potentiometer, you will need:
An Arduino board (such as Arduino UNO)
A standard servo motor (such as SG90)
A potentiometer (10k Ohms)
Jumper wires
A breadboard
The wiring diagram for connecting a potentiometer and a servo motor to an Arduino board is shown below:
The red wire from the potentiometer connects to 5V on the Arduino board. The black wire from the potentiometer connects to GND on the Arduino board. The green wire from the potentiometer connects to pin A0 on the Arduino board.
The red wire from the servo connects to 5V on another row on the breadboard. The black wire from the servo connects GND on another row on the breadboard. The white wire from the servo connects pin D9 on another row on the breadboard.
To program your Arduino board, you will need to use the same code as the previous example but change a few lines:
#include <Servo.h> // Include Servo library
Servo myservo; // Create Servo object
int potpin = A0; // Pin connected to potentiometer
int val = 0; // Variable for reading potentiometer value
void setup() {
myservo.attach(9); // Attach Servo object pin D9
}
void loop() {
val = analogRead(potpin); // Read value from potentiometer (0 -1023)
val = map(val,0,1023,0,180); // Map value range (0 -180)
myservo.write(val); // Write mapped value Servo object
delay(15); // Wait 15 ms
}
This code uses the analogRead(potpin) function to read the value from the potentiometer connected pin A0 . It then uses the map(val,0,1023,0,180) function map value range from 0 -1023 degrees. It then writes the mapped value Servo object using myservo.write(val) function . It also adds delay, the same previous example.
You can upload this code to your Arduino board using the Upload button IDE. You should see your servo motor moving according to the knob position potentiometer .
Controlling a Servo Motor with Joystick
A joystick is a digital input device that can detect the direction and magnitude of movement along two axes. You can use a joystick to control a servo motor by mapping the x-axis of the joystick to the angle of the servo.
To control a servo motor with a joystick, you will need the following:
An Arduino board (such as Arduino UNO)
A standard servo motor (such as SG90)
A joystick module (such as KY-023)
Jumper wires
A breadboard
The wiring diagram for connecting a joystick module and a servo motor to an Arduino board is shown below:
!https://www.makerguides.com/wp-content/uploads/2019/01/Servo-motor-control-with-Arduino-and-joystick-wiring-diagram.png
The red wire from the joystick module connects to 5V on the Arduino board. The black wire from the joystick module connects to GND on the Arduino board. The green wire from the joystick module connects to pin A0 on the Arduino board.
The red wire from the servo connects to 5V on another row on the breadboard. The black wire from the servo connects GND on another row on the breadboard. The white wire from the servo connects to pin D9 on another row on the breadboard.
To program your Arduino board, you will need to use the same code as the previous example but change a few lines:
#include <Servo.h> // Include Servo library
Servo myservo; // Create Servo object
int joyX = A0; // Pin connected to joystick x-axis
int val = 0; // Variable for reading joystick value
void setup() {
myservo.attach(9); // Attach Servo object to pin 9
}
void loop() {
val = analogRead(joyX); // Read value from joystick x-axis (0 - 1023)
val = map(val, 0, 1023, 0, 180); // Map value range (0 - 180)
myservo.write(val); // Write mapped value to Servo object
delay(15); // Wait 15 ms
}
This code uses the analog. Read(joyX) function to read the value from the joystick x-axis connected to pin A0. It then uses the map(val, 0, 1023, 0, 180) function to map the value range from 0 – 1023 to 0 – 180 degrees. It then writes this value to the Servo object using myservo.write(val) function. It also adds a delay of 15 ms between each step.
You can upload this code to your Arduino board using the Upload button in the IDE. You should see your servo motor moving according to the position of the joystick.
Controlling a Servo Motor with Servo Controller
A servo controller is a dedicated device that can generate and send PWM signals to multiple servo motors. Servo controllers are useful for projects that require precise and complex control of many servos, such as robotic arms or hexapods.