1. Pre-installation Preparation
Installing a three-phase voltage regulator is a task that requires meticulous operation and strict adherence to specifications. Below is a detailed installation guide and key precautions:
Selection and Matching
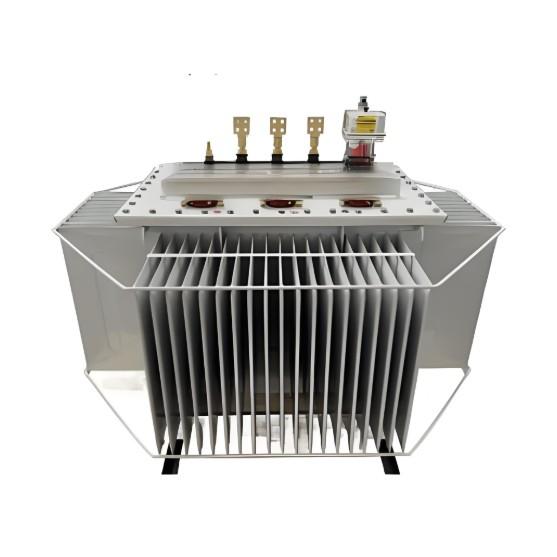
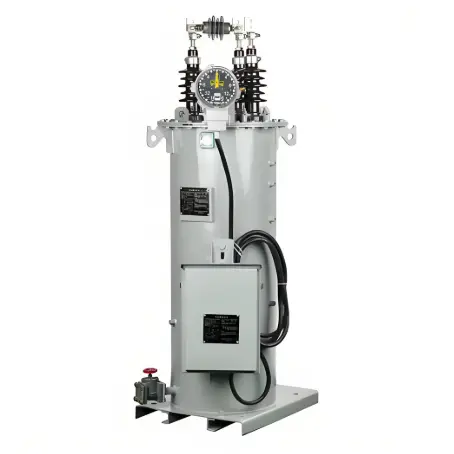
Select an appropriately rated three-phase voltage regulator based on the load’s rated voltage, current, power, and other parameters. Ensure that the regulator’s capacity is equal to or greater than the total load power, and that its input and output voltage ranges meet the circuit requirements.
Equipment Inspection
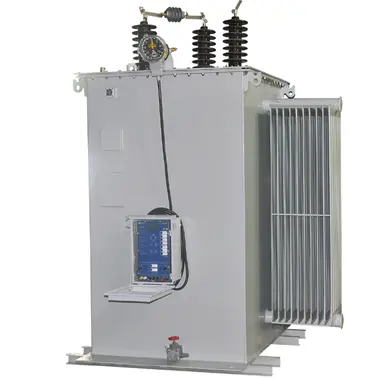
Before installation, carefully inspect the regulator’s exterior for any damage, deformation, cracks, or other defects. Also, check whether the terminal connections are loose or corroded. Address or replace any abnormal components immediately.
Use a multimeter or similar instrument to measure the insulation resistance of the regulator. The measured value should comply with the requirements in the product manual—typically no less than several megohms.
2. Installation Environment Requirements
Space Layout
To facilitate heat dissipation and maintenance, install the regulator in a well-ventilated, dry, and clean environment, avoiding direct sunlight and moisture. Sufficient clearance should be maintained around the unit—generally at least 15 cm on all sides (top, bottom, left, right, front, and back).
Ensure the installation location allows operators easy access to observe and operate the regulator’s control panel and adjustment knobs.
3. Safety Protection
The installation site must have proper grounding. Connect the regulator’s grounding terminal reliably to an earth ground, with a grounding resistance no greater than 4 Ω, to prevent electric shock in case of electrical faults.
Do not install the regulator in environments containing flammable, explosive, corrosive gases, or excessive dust. If use in such special environments is necessary, appropriate protective measures must be implemented.
4. Installation Procedure
Securing the Regulator
Based on the regulator’s mounting type (e.g., floor-standing, wall-mounted), select a suitable location and securely fasten it to the foundation using bolts, nuts, or other appropriate fixtures. During installation, ensure the unit is level and plumb to avoid operational issues caused by uneven mounting.
Wiring Connections
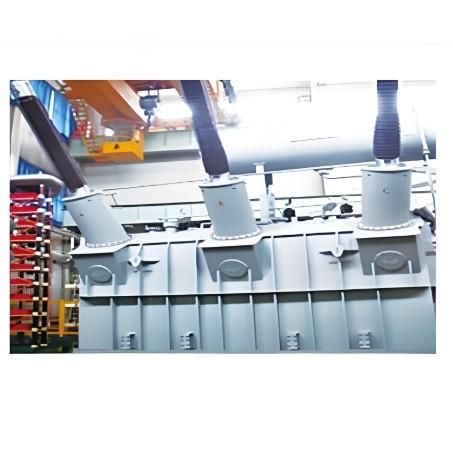
Connect the input and output wires correctly according to the circuit diagram and product manual. Typically, the input wires connect to the power supply side, and the output wires connect to the load side. Pay close attention to the phase sequence of the three-phase power supply to ensure correct wiring.
Use appropriately sized conductors and secure connection methods to ensure firm, reliable connections and avoid looseness or poor contact. For high-current circuits, consider using copper busbars or cables to reduce line resistance and heating.
Commissioning and Testing
After completing the wiring, perform no-load and loaded commissioning before putting the regulator into full service. First, set the output voltage to its minimum, then gradually increase it while observing the regulator’s operation for any abnormal noises, overheating, or other irregularities.
During loaded testing, slowly increase the load while monitoring output voltage, current, and other parameters to ensure the regulator can stably deliver the required voltage to the load. If any abnormalities occur, shut down immediately, troubleshoot the issue, and re-commission only after the fault is resolved.