Electrical Room Power-On Safety Operation Guide

Power Supply Procedure for Low-Voltage Electrical Rooms
I. Pre-Power-On Preparations
Clean the electrical room thoroughly; remove all debris from switchgear and transformers, and secure all covers.
Inspect busbars and cable connections inside transformers and switchgear; ensure all screws are tightened. Live parts must maintain adequate safety clearance from cabinet enclosures and between phases.
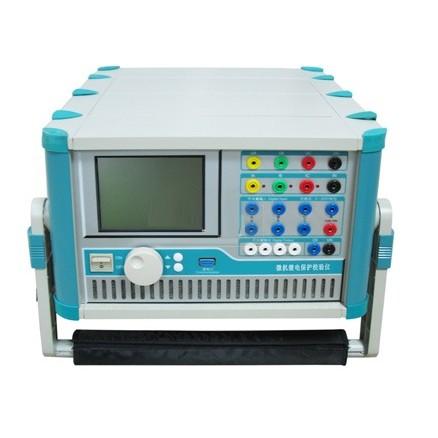
Test all safety equipment before energizing; use only calibrated measuring instruments. Prepare fire-fighting equipment and necessary warning signs (e.g., "Danger", "Do Not Close").
Verify that grounding and bonding systems are intact and reliable.
Check secondary wiring in switchgear for correctness and ensure all terminals are securely tightened.
Set protective relay settings for all equipment according to the electrical system drawings.
II. Power-On Procedure
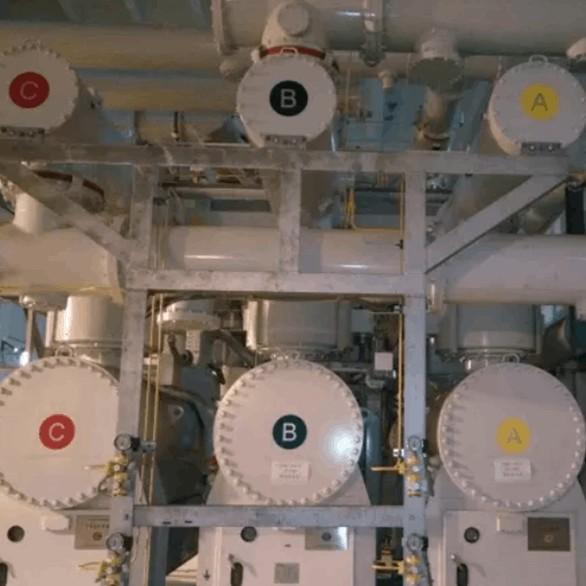
Open the grounding switch of the transformer cubicle in the 10kV switchroom, then insert the circuit breaker trolley into position.
Close the load switch in the high-voltage incoming line isolation cubicle.
Press the transformer closing button to perform five inrush energizations, with a 5-minute interval between each.
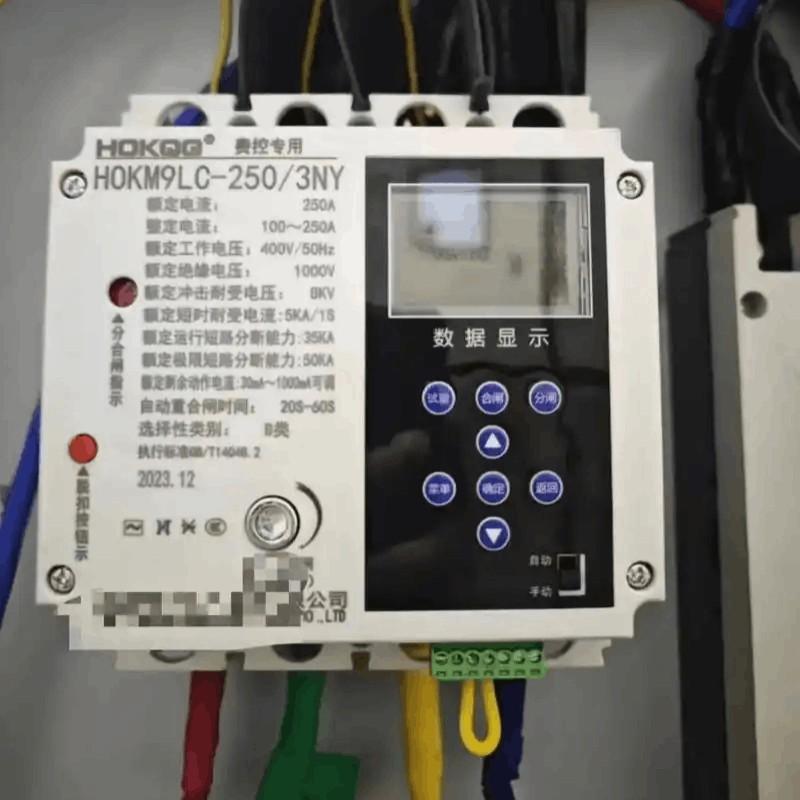
Sequentially insert and close each low-voltage switchgear drawer unit. Use a multimeter to verify normal voltage and confirm no abnormalities in all low-voltage cabinets.
After all equipment is energized, operate under load for 24 hours for observation and testing.