1. Definition of High-Voltage Cable Line Constant Testing
High-voltage cable line constant testing refers to the systematic measurement, using specialized instruments, of electrical parameters such as resistance, inductance, capacitance, and conductance before a cable line is commissioned or after major maintenance. The aim is to obtain fundamental data characterizing the electromagnetic properties of the cable, serving as a critical testing phase that provides accurate parameter support for power system load flow calculations, relay protection configuration, short-circuit current analysis, and cable operational status evaluation.
Its core value lies in two aspects: first, verifying deviations between design values and actual measured values to avoid protection malfunctions or system stability issues caused by parameter mismatches; second, establishing a "baseline parameter database" for the cable line, providing a reference for identifying subsequent operational changes (such as insulation aging or poor joint contact). According to DL/T 596 "Preventive Test Regulations for Electrical Equipment" and GB 50217 "Design Standard for Power Engineering Cables," all constant tests must be completed for 220 kV and above cable lines during commissioning, while 110 kV and below lines may be selectively implemented based on system importance.
2. Complete Process of High-Voltage Cable Line Constant Testing
2.1 Pre-Test Preparation Phase
2.1.1 Collection of Technical Data and Site Survey
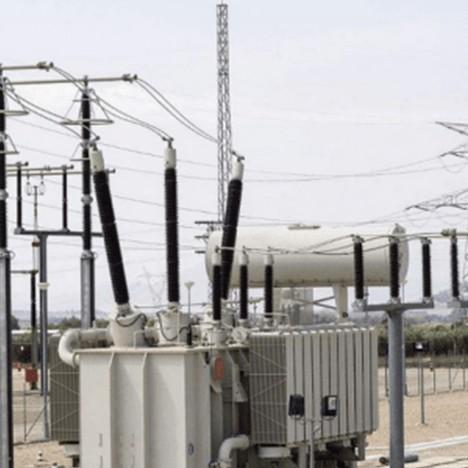
Comprehensive cable line design parameters must be obtained, including voltage level (e.g., 220 kV, 500 kV), cable model (e.g., YJV22-220 kV-1×2500 mm²), installation method (direct burial, conduit, cable tray), length (accurate to 0.1 km), conductor material (copper or aluminum), insulation type (XLPE, oil-impregnated paper), metallic shield structure (copper tape, copper wire), and grounding method (direct grounding, cross-bonded grounding). A site survey must confirm communication conditions at the main test site (typically a cable terminal station) and auxiliary site (opposite substation), integrity of the grounding system, safe distance from nearby energized equipment (≥1.5 times the safety distance corresponding to the test voltage), and use an electrostatic voltmeter to measure induced voltage (which may reach tens of volts on cables near energized lines, requiring anti-electrocution measures).
2.1.2 Test Plan Development and Equipment Selection
Based on the "Guidelines for Cable Line Parameter Testing," a detailed plan including test items (positive-sequence resistance, zero-sequence capacitance, etc.), instrument models, wiring methods, and safety measures must be developed. Core equipment includes:
Line parameter tester (accuracy class 0.2, frequency range 45–65 Hz, output current ≥10 A);
Three-phase voltage regulator (capacity ≥5 kVA, adjustable range 0–400 V);
Isolation transformer (1:1 ratio to prevent grid interference);
Auxiliary tools: thermometer/hygrometer (ambient temperature and humidity must be recorded for temperature correction of parameters), discharge rod (25 kV class, discharge time ≥5 min), shorting wires (cross-sectional area ≥25 mm² copper cable, length customized on-site), and insulating pole (3 m, insulation resistance ≥1000 MΩ).
2.1.3 Safety Measures Deployment
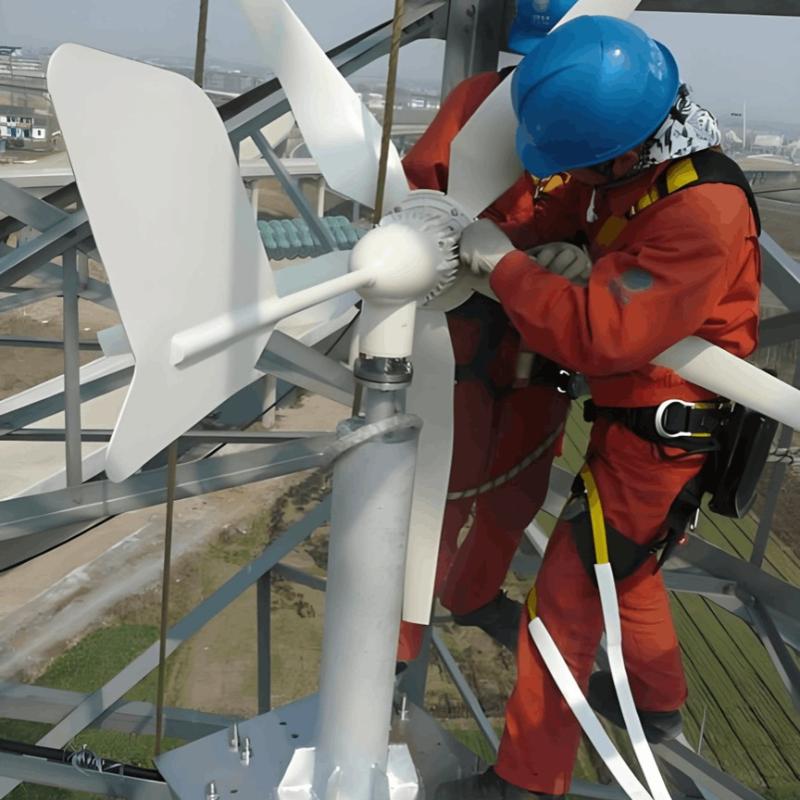
The test area must be enclosed with safety barriers and marked with "High Voltage Danger" warning signs. Both the main and auxiliary test sites must be equipped with walkie-talkies (communication range ≥1 km) and emergency stop buttons. All test personnel must wear insulating gloves (35 kV class), insulating shoes (breakdown voltage ≥15 kV), and double-hook safety harnesses when working at height. The far end of the cable must be disconnected from other equipment and fitted with temporary grounding wires to prevent back-feeding.
2.2 On-Site Testing Implementation Phase
2.2.1Test Wiring and Phase Verification
Taking positive-sequence parameter testing as an example, the wiring procedure is as follows:
(1) Short-circuit and ground the three-phase conductors (A, B, C) at the far end; ground the metallic shield at one end only (for cross-bonded systems, disconnect the bonding links in the cross-bonding box and test each section separately);
(2) Apply AC voltage (typically 380 V) to phase A at the main test end via a voltage regulator and isolation transformer; leave phases B and C open; connect the voltage and current sampling leads of the line parameter tester.
Phase verification: Use a multimeter to measure the voltage phase of each phase to ensure correct same-name phase connections and avoid measurement errors due to incorrect phase sequence.
2.2.2Parameter Measurement Procedure
Positive-sequence resistance (R1) and reactance (X1): Apply test current (typically 5–10 A) to phase A, measure the magnitude and phase angle difference between voltage and current, and calculate using the formulas R1 = U/I·cosϕ and X1 = U/I·sinϕ. Repeat the test three times and take the average value, with at least a 1-minute interval between tests to prevent conductor heating from affecting resistance values.
Zero-sequence capacitance (C0): Short-circuit and connect phases A, B, and C to the high-voltage terminal of the tester, ground the metallic shield, apply 100 V, and measure capacitance using the Schering bridge principle. Linearity must be verified at different voltage levels (50 V, 100 V, 200 V), with deviations ≤2%.
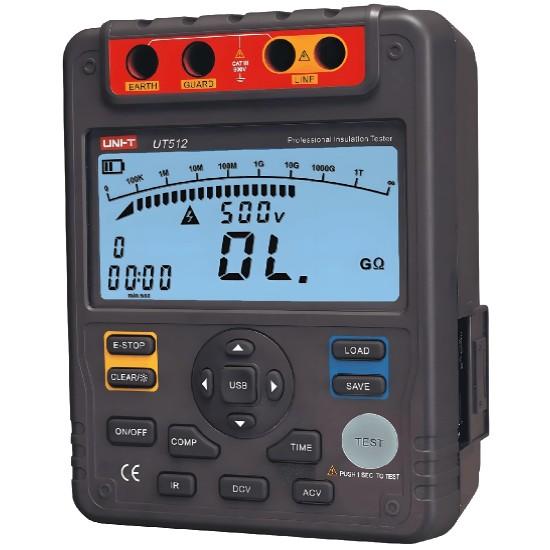
Insulation resistance (Rins): Use a 2500 V megohmmeter to measure insulation resistance between conductor and shield. Record the reading after 1 minute of applied voltage and simultaneously record ambient temperature. Convert to the 20°C reference value using the formula R20 = Rt × 10^(0.004(t−20)) (where t is the measured temperature).
2.2.3Data Recording and Validity Assessment
Immediately after completing each parameter test, record the instrument reading, ambient temperature and humidity, test time, and any anomalies (e.g., voltage fluctuations, unusual noises). Data validity criteria include:
Relative deviation of three repeated measurements of the same parameter ≤5%;
Deviation of positive-sequence impedance from design value ≤10% (accounting for installation length error);
Insulation resistance, after temperature correction, should be ≥1000 MΩ·km (standard for XLPE cables).

2.3 Post-Test Processing Phase
2.3.1 Safe Discharge and Wiring Removal
After testing, first disconnect the power supply to the voltage regulator. Then, use a discharge rod to perform "multiple discharges" on the cable conductor and shield (each discharge lasting ≥1 minute, with a 30-second interval). Only after confirming the residual voltage is ≤50 V should the shorting wires and test leads be removed. For cross-bonded systems, reconnect the bonding links in the cross-bonding box and measure continuity to ensure proper connection.
2.3.2 Data Correction and Report Preparation
According to GB/T 3048.4 "Methods for Electrical Testing of Electric Wires and Cables," measured parameters must be corrected for temperature and frequency:
Resistance temperature correction:
For copper conductors: R₂₀ = Rₜ / [1 + α(t − 20)] (where α = 0.00393/°C);
Capacitance frequency correction:
When the test frequency deviates from 50 Hz, correct using: C₅₀ = Cf × (1 + 0.002∣f − 50∣).
The test report must include the testing standard (e.g., DL/T 475), instrument calibration certificate number, a parameter comparison table (design values vs. measured values), and a conclusive assessment (e.g., "Pass", "Retest Recommended").