Vziman oil-immersed transformer leak management: complete response and control guide for reliable power system operation.
| Level | Characteristics | Response |
|---|---|---|
| Seepage | Oil stain only, no dripping | Place drip tray; continuously monitor oil level, temperature, and Buchholz alarm; no immediate shutdown required |
| Moderate leakage | Continuous dripping | Transfer non-critical loads within the substation; prepare for oil top-up; schedule shutdown for repair |
| Severe gushing | Heavy oil loss | Immediately isolate HV/LV switches, earth and tag the equipment; clear surrounding combustibles; start oil recovery; strictly prohibit any live or pressurized operation |
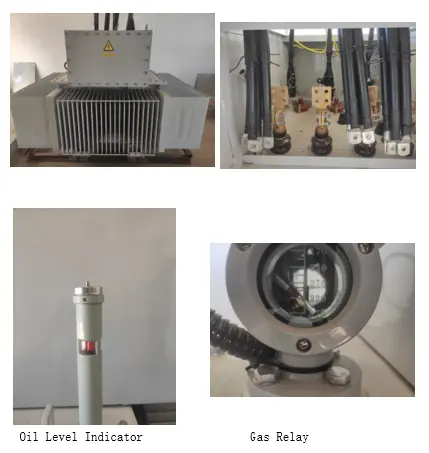
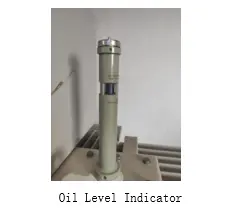
Oil Level Abnormality Fault Site Example
Use absorbent pads and sealed drums to collect leaked insulating oil. If soil is contaminated, excavate contaminated soil in layers, seal and store it, and dispose of as hazardous waste in accordance with local regulations.
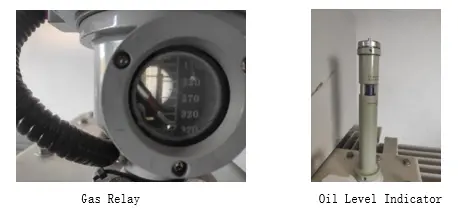
Do not continue operation if the conservator oil level falls below the minimum mark. Monitor the Buchholz relay for both gas accumulation (alarm) and oil surge (trip) conditions - if leakage is accompanied by a Buchholz alarm or trip, shut down immediately to prevent winding moisture ingress and consequent insulation failure.
Clean and dry the leak area, then apply an oil-resistant polymer sealing compound for temporary containment. This measure is a short-term solution only; permanent repair must be carried out during the next planned outage.
Causes: Aging nitrile rubber (NBR) gaskets, corroded or distorted flange surfaces, uneven bolt tightening, abnormal gasket compression.
Remedial steps:
| Type | Treatment |
|---|---|
| Small pinholes / micro-cracks (oil layer thickness above the leak point >= 200 mm) | Intermittent tack welding in oil using low current and fast welding to avoid igniting oil vapor (this operation must be performed by a certified welder; in-oil welding carries a risk of combustion and explosion) |
| Thin-wall radiator tube leak | Close radiator isolation butterfly valve, drain oil; repair with composite epoxy wrapping or replace the radiator assembly |
| Large weld seam fracture | Drain oil below the leak point, grind a weld groove, then full-seam weld; perform nitrogen pressure leak test after welding |
Repair conservator weld seams by re-welding. If the glass oil gauge seal ring has aged, replace the complete oil gauge assembly; avoid applying stress to the glass during installation.
The leak test may be performed using the 30 kPa air pressure method: for transformers >= 20 MVA / 66 kV, apply 30 kPa air pressure and maintain for >= 24 hours. Pressure fluctuation must remain above 90 % of the set value throughout, with no oil traces at any location. Alternatively, refer to the locally applicable IEC standard method. If using the leak rate detection method, the measurement point vacuum shall be <= 200 Pa.
Note: Testing should be avoided when humidity > 80 %, during rain/snow/fog, or during periods of rapid ambient temperature change.
After oil top-up or oil drainage repair, test the insulating oil for dielectric breakdown voltage, moisture content, acidity, and dissolved gas analysis (DGA). For weld repairs, pay special attention to acetylene content to rule out internal overheating.
Measure winding insulation resistance and polarization index. For earthing transformers, additionally re-test zero-sequence impedance to confirm the zig-zag winding structure was not damaged during repair.
For the first 72 hours after commissioning, inspect all seal points twice daily, record oil level and temperature rise, and confirm no re-leakage.
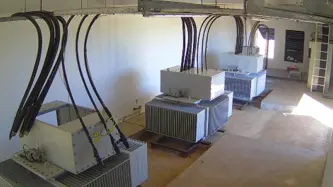
For outdoor oil-immersed earthing transformers, replace all rubber seals on flanges and valves every 3-5 years; reduce to 3 years in coastal salt-spray environments.
During each seasonal temperature transition (winter-summer), re-tighten all tank flange bolts in a diagonal sequence to compensate for thermal expansion and contraction.
Maintain a leakage defect log. Within 30 days of any leakage incident, complete a root-cause review analyzing:
Eliminate similar risks at the source and continuously optimize maintenance strategy.
Edited From:Echo








 Login