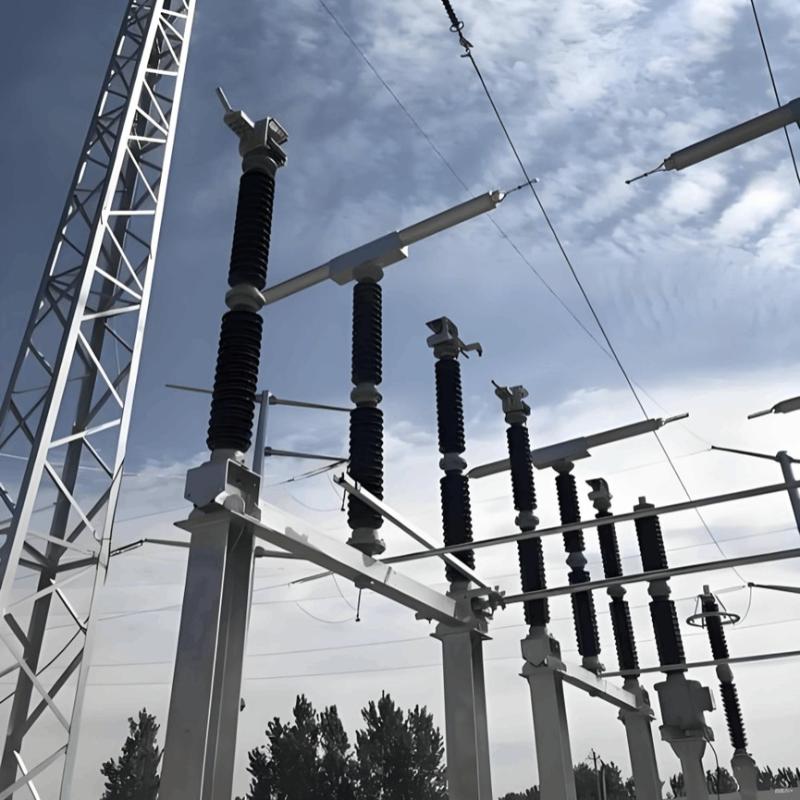
Abnormal Operation and Handling of High-Voltage Circuit Breakers and Disconnectors

Common Faults of High-Voltage Circuit Breakers and Mechanism Pressure Loss
Common faults of high-voltage circuit breakers themselves include: failure to close, failure to trip, false closing, false tripping, three-phase asynchronism (contacts not closing or opening simultaneously), damage to the operating mechanism or pressure drop, oil spraying or explosion due to insufficient interrupting capacity, and phase-selective circuit breakers failing to operate according to the commanded phase.
"Circuit breaker mechanism pressure loss" generally refers to abnormalities in hydraulic pressure, pneumatic pressure, or oil level within the circuit breaker mechanism, leading to blocking of opening or closing operations.
Handling Circuit Breakers with Open/Close Blocking During Operation
When a circuit breaker experiences open/close blocking during operation, it should be isolated from service as soon as possible. The following measures should be taken depending on the situation:
At substations equipped with a dedicated bypass circuit breaker or a bus-tie circuit breaker that also functions as a bypass, the bypass substitution method can be used to isolate the faulty circuit breaker from the grid.
If bypass substitution is not feasible, the bus-tie circuit breaker can be used in series with the faulty circuit breaker; then, the power-side circuit breaker on the opposite side is opened to de-energize the faulty circuit breaker (after load transfer).
For II-type busbar configurations, close the external bridge disconnector of the line to convert the II-connection into a T-connection, thereby taking the faulty circuit breaker out of service.
When the bus-tie circuit breaker itself experiences open/close blocking, simultaneously close both bus disconnectors of a certain element (i.e., "dual-span"), then open the two-side disconnectors of the bus-tie circuit breaker.
For substations with dual power sources but no bypass circuit breaker, if a line circuit breaker suffers pressure loss, the substation may be temporarily converted to a terminal substation configuration before addressing the operating mechanism of the pressure-loss circuit breaker.
For a faulty circuit breaker in a 3/2 busbar scheme operating within a ring network, it can be isolated using its two-side disconnectors.
Consequences of Non-Full-Phase Operation of High-Voltage Circuit Breakers
If one phase of a circuit breaker fails to interrupt, it is equivalent to a two-phase open circuit; if two phases fail to interrupt, it is equivalent to a single-phase open circuit. This generates zero-sequence and negative-sequence voltages and currents, potentially causing the following consequences:
Neutral-point displacement caused by zero-sequence voltage leads to unbalanced phase-to-ground voltages, with some phases experiencing elevated voltage, increasing the risk of insulation breakdown.
Zero-sequence current creates electromagnetic interference within the system, threatening the safety of communication lines.
Zero-sequence current may trigger zero-sequence protection relays.
Increased impedance between two parts of the system may lead to asynchronous operation.
Handling Methods for Non-Full-Phase Operation of Circuit Breakers
If a circuit breaker automatically trips on one phase, resulting in two-phase operation, and the auto-reclosing function (initiated by phase-loss protection) does not operate, immediately instruct field personnel to manually reclose once. If unsuccessful, open the remaining two phases.
If two phases are open, immediately select an appropriate method to fully open the circuit breaker.
In the case of non-full-phase operation of a bus-tie circuit breaker, immediately reduce its current, switch closed-loop busbars to single-bus operation, or de-energize one busbar if the system is open-loop.
If the non-full-phase circuit breaker supplies a generator, rapidly reduce the generator’s active and reactive power output to zero, then apply the above handling methods.
Methods to De-Energize a Non-Full-Phase Circuit Breaker
In a 220 kV system, parallel the faulty non-full-phase circuit breaker with a bypass circuit breaker. After disabling the DC control power of the bypass circuit breaker, open the two-side disconnectors of the non-full-phase circuit breaker to de-energize it.
If the element connected to the non-full-phase circuit breaker can be de-energized and the substation uses double busbars, first open the line circuit breaker on the opposite side. Then, transfer other elements to the other busbar on this side, connect the bus-tie circuit breaker in series with the non-full-phase circuit breaker, use the bus-tie circuit breaker to interrupt the no-load current, thereby de-energizing the line and the non-full-phase circuit breaker, and finally open its two-side disconnectors.
Handling When a Circuit Breaker Cannot Be Operated and the Line Cannot Be De-Energized
In a 500 kV 3/2 circuit breaker configuration, if a circuit breaker becomes blocked and cannot be operated while the line must remain energized, the faulty circuit breaker can be de-energized by opening its two-side disconnectors. The following precautions must be observed:
When two strings are looped together, disable the DC control power of all circuit breakers before using disconnectors to break the loop; restore DC control power immediately after loop breaking.
When three or more strings are looped together, disable the DC control power of all circuit breakers in the string containing the faulty circuit breaker before loop breaking; restore DC control power of the other circuit breakers in that string immediately afterward.
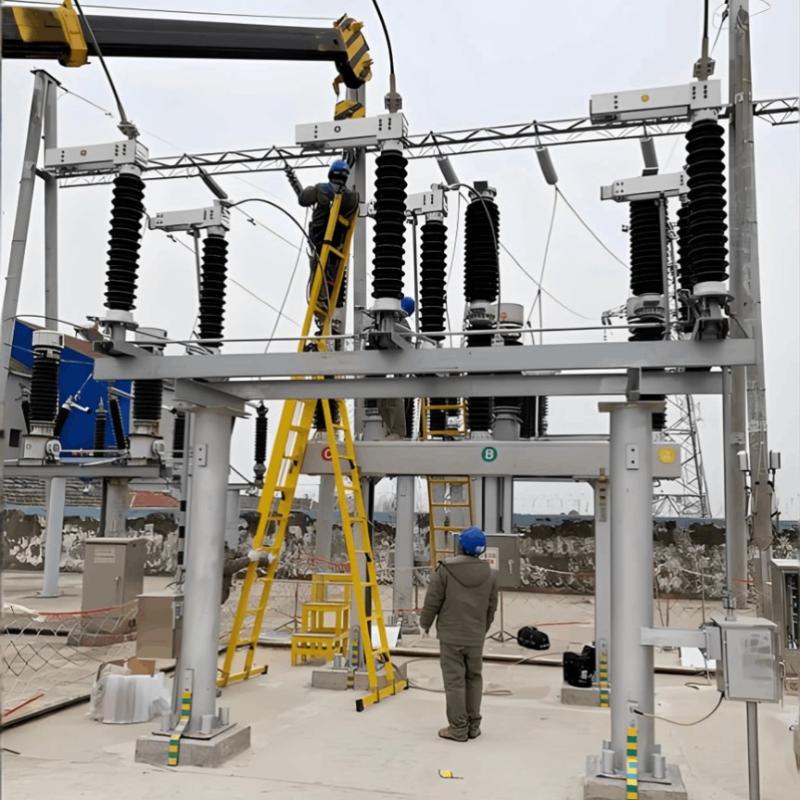
Handling Abnormal Conditions of Disconnectors During Operation
In case of disconnector overheating, immediately reduce the load.
If severe overheating occurs, transfer the load via bus transfer or bypass bus transfer methods to take the disconnector out of service.
If de-energizing the overheated disconnector would cause significant outage and losses, perform live-line maintenance to tighten components. If overheating persists, temporarily short-circuit the disconnector using a jumper wire.
Causes of Overheating in High-Voltage Disconnectors
The main conductive path of high-voltage disconnectors in power systems consists of the main contact blades (moving and stationary contacts), conductive rods (or plates), transition contacts between conductive rods and terminal connectors, and terminal connectors for leads. Thus, overheating typically occurs at the main contact blades, transition contacts, and terminal connectors.
Main causes include: poor contact between moving and stationary contacts, insufficient contact pressure, mechanical deformation or wear, electrical erosion, and contamination such as dirt, chemical deposits, or oxidation layers on contact surfaces, all of which increase contact resistance.
The connection between conductive rods (plates) and terminal connectors usually employs transition contact structures—such as rolling contacts, surface-rotating friction contacts, or structures similar to main contacts—and overheating failures are frequently observed at these locations during operation. Additionally, fixed contact points of disconnectors may also overheat.
Methods to Address Overheating in High-Voltage Disconnectors
Enhance monitoring: Substation operators should inspect disconnectors each shift, focusing on heating in the conductive path. Analyze based on load current and component conditions. Apply temperature-indicating wax strips to key conductive parts and monitor their melting. Where possible, use infrared thermometers for live-line temperature measurement. Conduct special inspections during sudden weather changes.
Operate disconnectors correctly: Operate slowly and carefully at the start, observing the transmission system and conductive rod movement. Upon initial contact during closing, close decisively and quickly; upon initial separation during opening, pull apart rapidly to minimize arcing time and reduce contact erosion.
Improve maintenance quality: Perform annual maintenance, focusing on conductive path contact points. Disassemble, clean, and inspect moving and stationary contacts—they should be intact. Replace contacts with severe burning, excessive mechanical wear, or significant deformation. Check all conductive parts for overheating signs and replace contacts that have annealed, deformed, or lost elasticity due to overheating. Inspect and adjust contact springs; replace springs that are severely corroded or have lost elasticity.